Give mobile numbers a name or reference in MyProximus Enterprise
Do you want to quickly recognize your company’s employees’ mobile numbers in the overview? Then add a name, alias or personal references to each mobile number in MyProximus Enterprise. You can do this for one mobile number or for several at once.
Give one mobile number a name
Do you want to add a name or personal reference to one mobile number? Follow these steps:
- Log in to MyProximus Enterprise. Don’t have an account yet? Then register as a Digital Access Owner, Delegated Access Owner or User.
Log in to MyProximus Enterprise Opens a new window -
In certain cases, you will receive a code via SMS. Enter this code.
Didn't receive it? Check how to get a code via SMS . - Click Products.
- Click Mobile and then Manage mobile numbers. You will now see an overview of all your mobile numbers.
- Enter the full mobile number in the search field. Then click the number to add a name, alias or reference.
Have you already entered details before? Then you can also search by Alias name, Reference 1 or Reference 2.

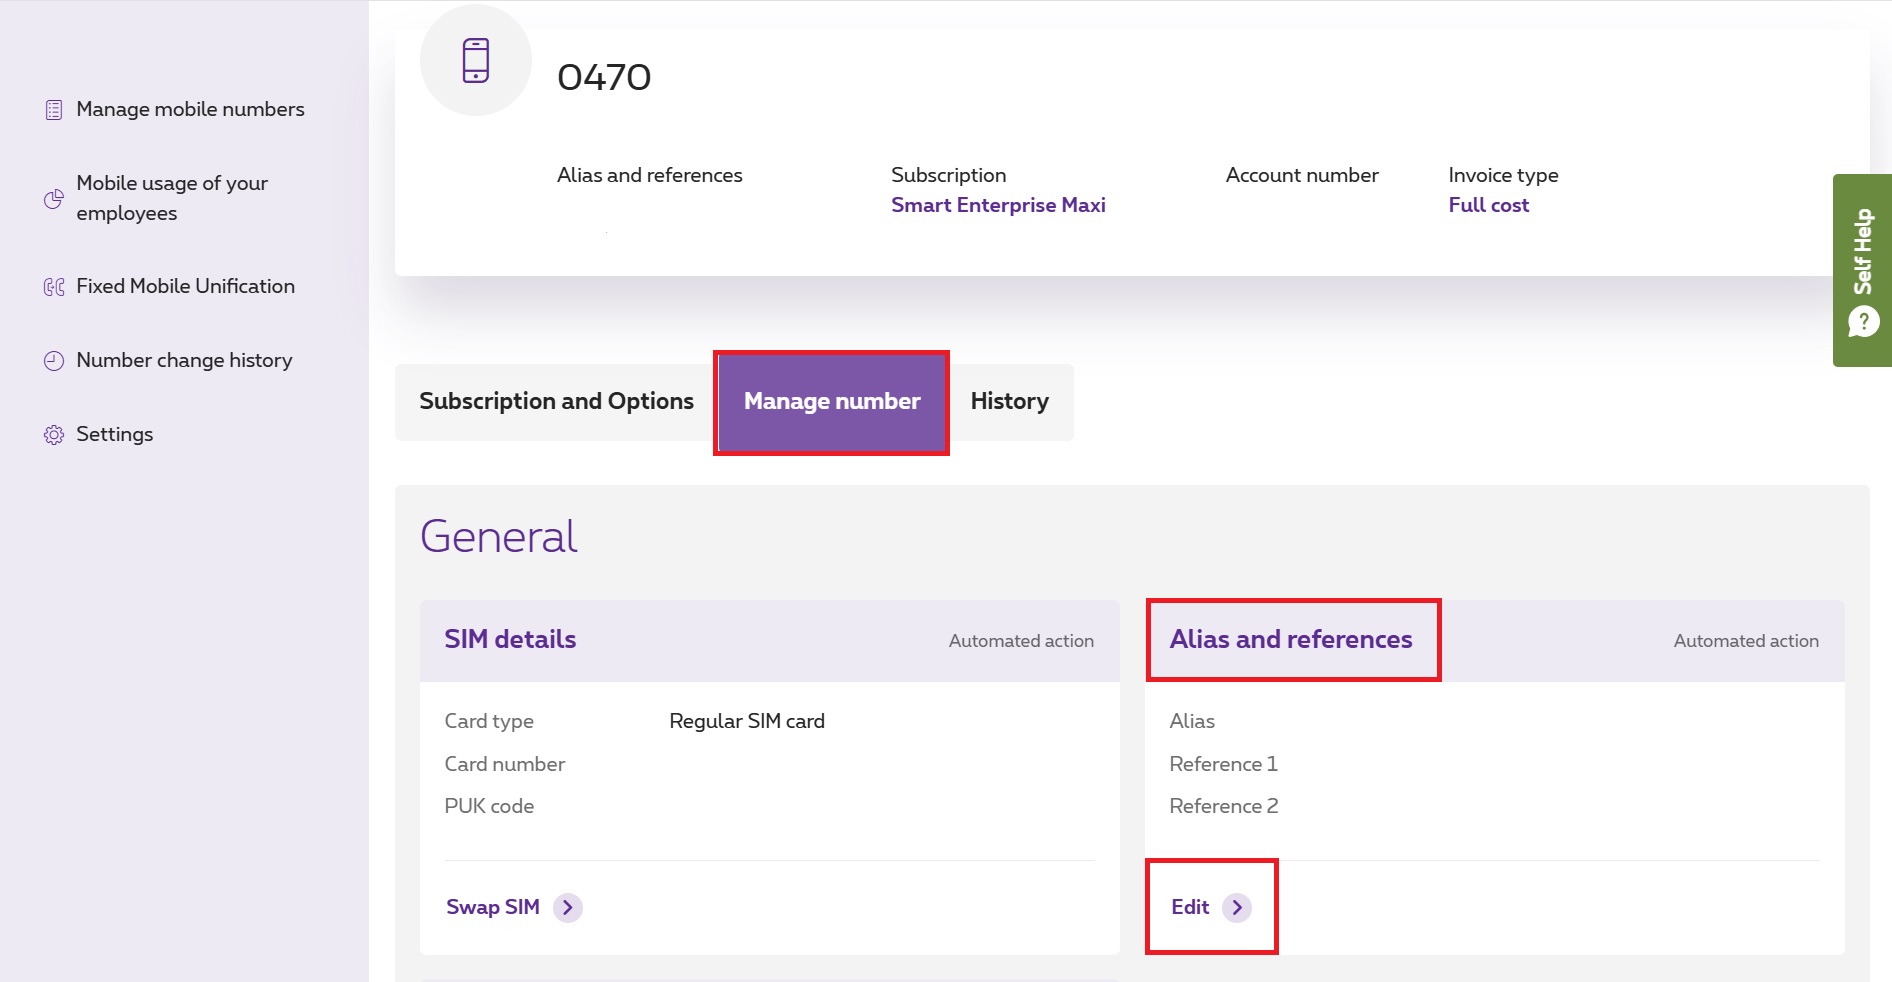
- You will now see the overview for this mobile number. In the Manage number tab, click Edit under Alias & references.
- Enter an alias and, if needed, add Reference 1 and Reference 2. Then click Update.
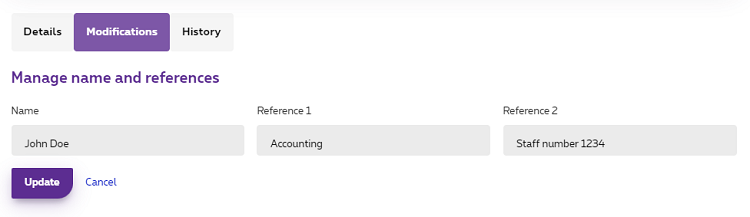
The name or alias will now appear in the overview for this mobile number and in the list of all your mobile numbers. Do you also want to see the references in the overview? Then click Table view at the top right and tick References.
Give multiple mobile numbers a name
Do you want to add a name, alias or references to several mobile numbers at once? Follow these steps:
- Log in to MyProximus Enterprise. Don’t have an account yet? Then register as a Digital Access Owner, Delegated Access Owner or User.
Log in to MyProximus Enterprise Opens a new window -
In certain cases, you will receive a code via SMS. Enter this code.
Didn't receive it? Check how to get a code via SMS . - Click Products.
- Click Mobile and then Manage mobile numbers. You will now see an overview of all your mobile numbers.
- Click Modify multiple numbers.

- Now click Manage alias name & references.
- First read the information and click Download template to download the Excel file. Then fill in these fields:
- Mobile number: enter the mobile numbers to which you want to add a name or references.
- Name: enter the name or alias.
- Reference 1: enter a first reference, for example a cost center, department or employee number.
- Reference 2: enter a second reference, for example a cost center, department or employee number.
- Save the file, upload it and click Send.
The names or aliases will now appear in the overview of the mobile numbers and in the list of all your mobile numbers. Do you also want to see the references in the overview? Then click Table view at the top right and tick References.
Names, aliases and references are also exported when you click Export to Excel.