View all guides
Wi-Fi Booster
Installation GuideBefore you begin
Make sure you have a b-box 3 or later, and check that the Wi-Fi indicator light is turned on on your b-box.
Required components for the installation
- The Wi-Fi Booster
- The power supply cable
- The Ethernet cable
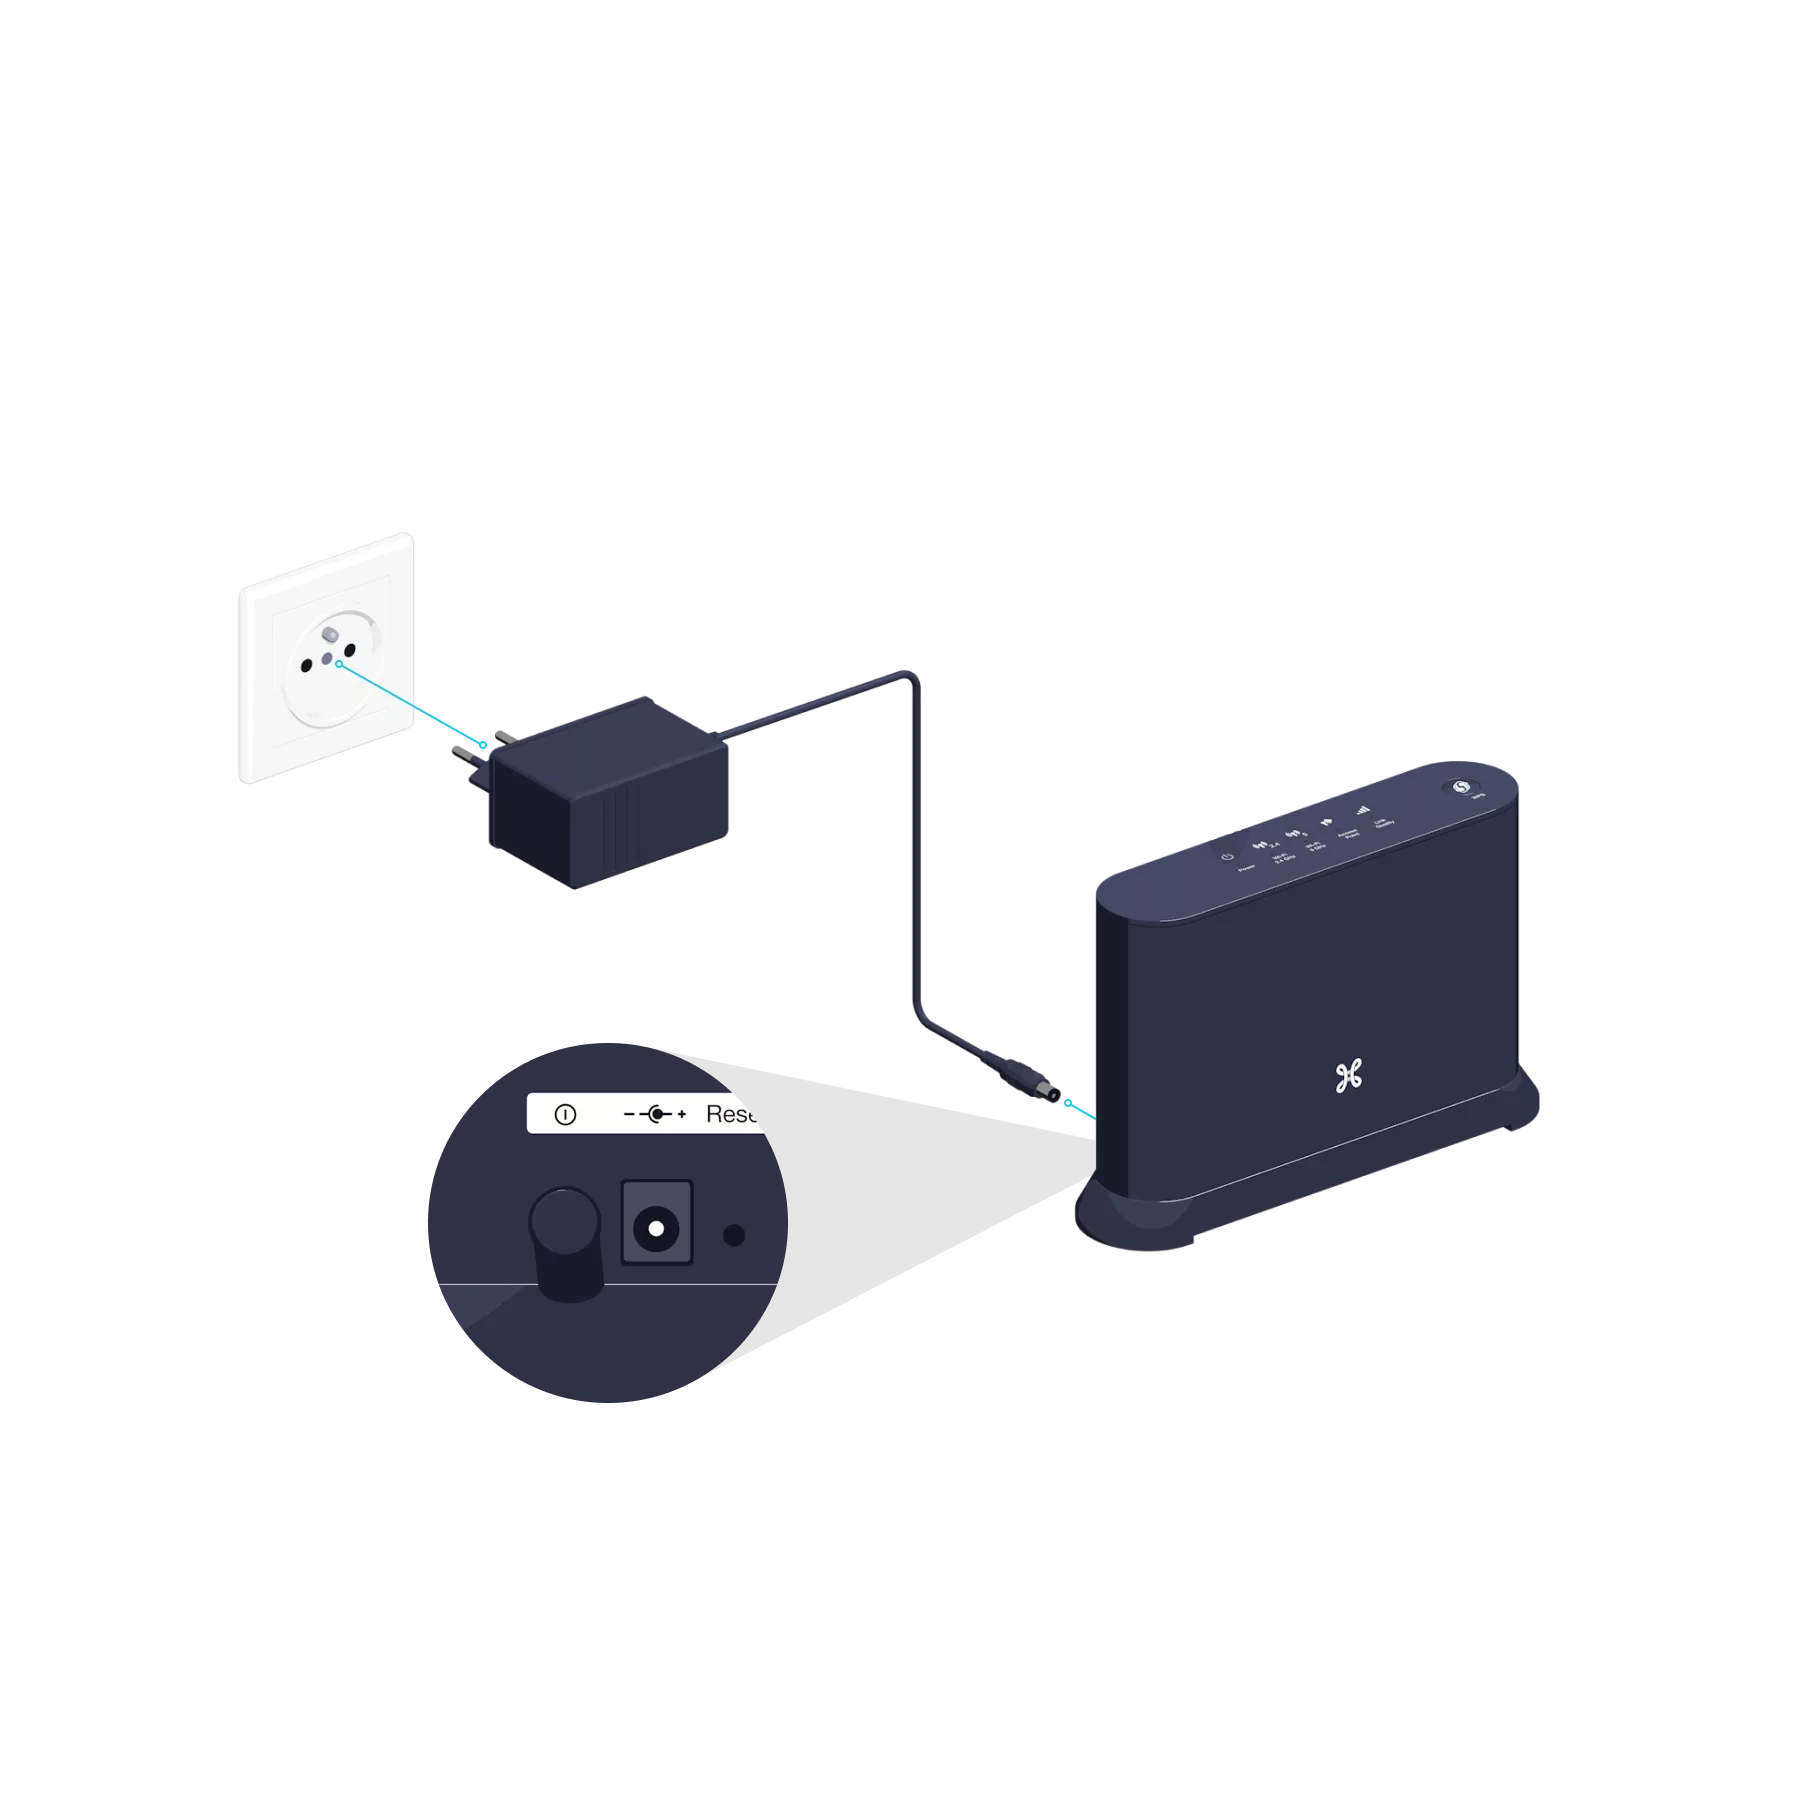
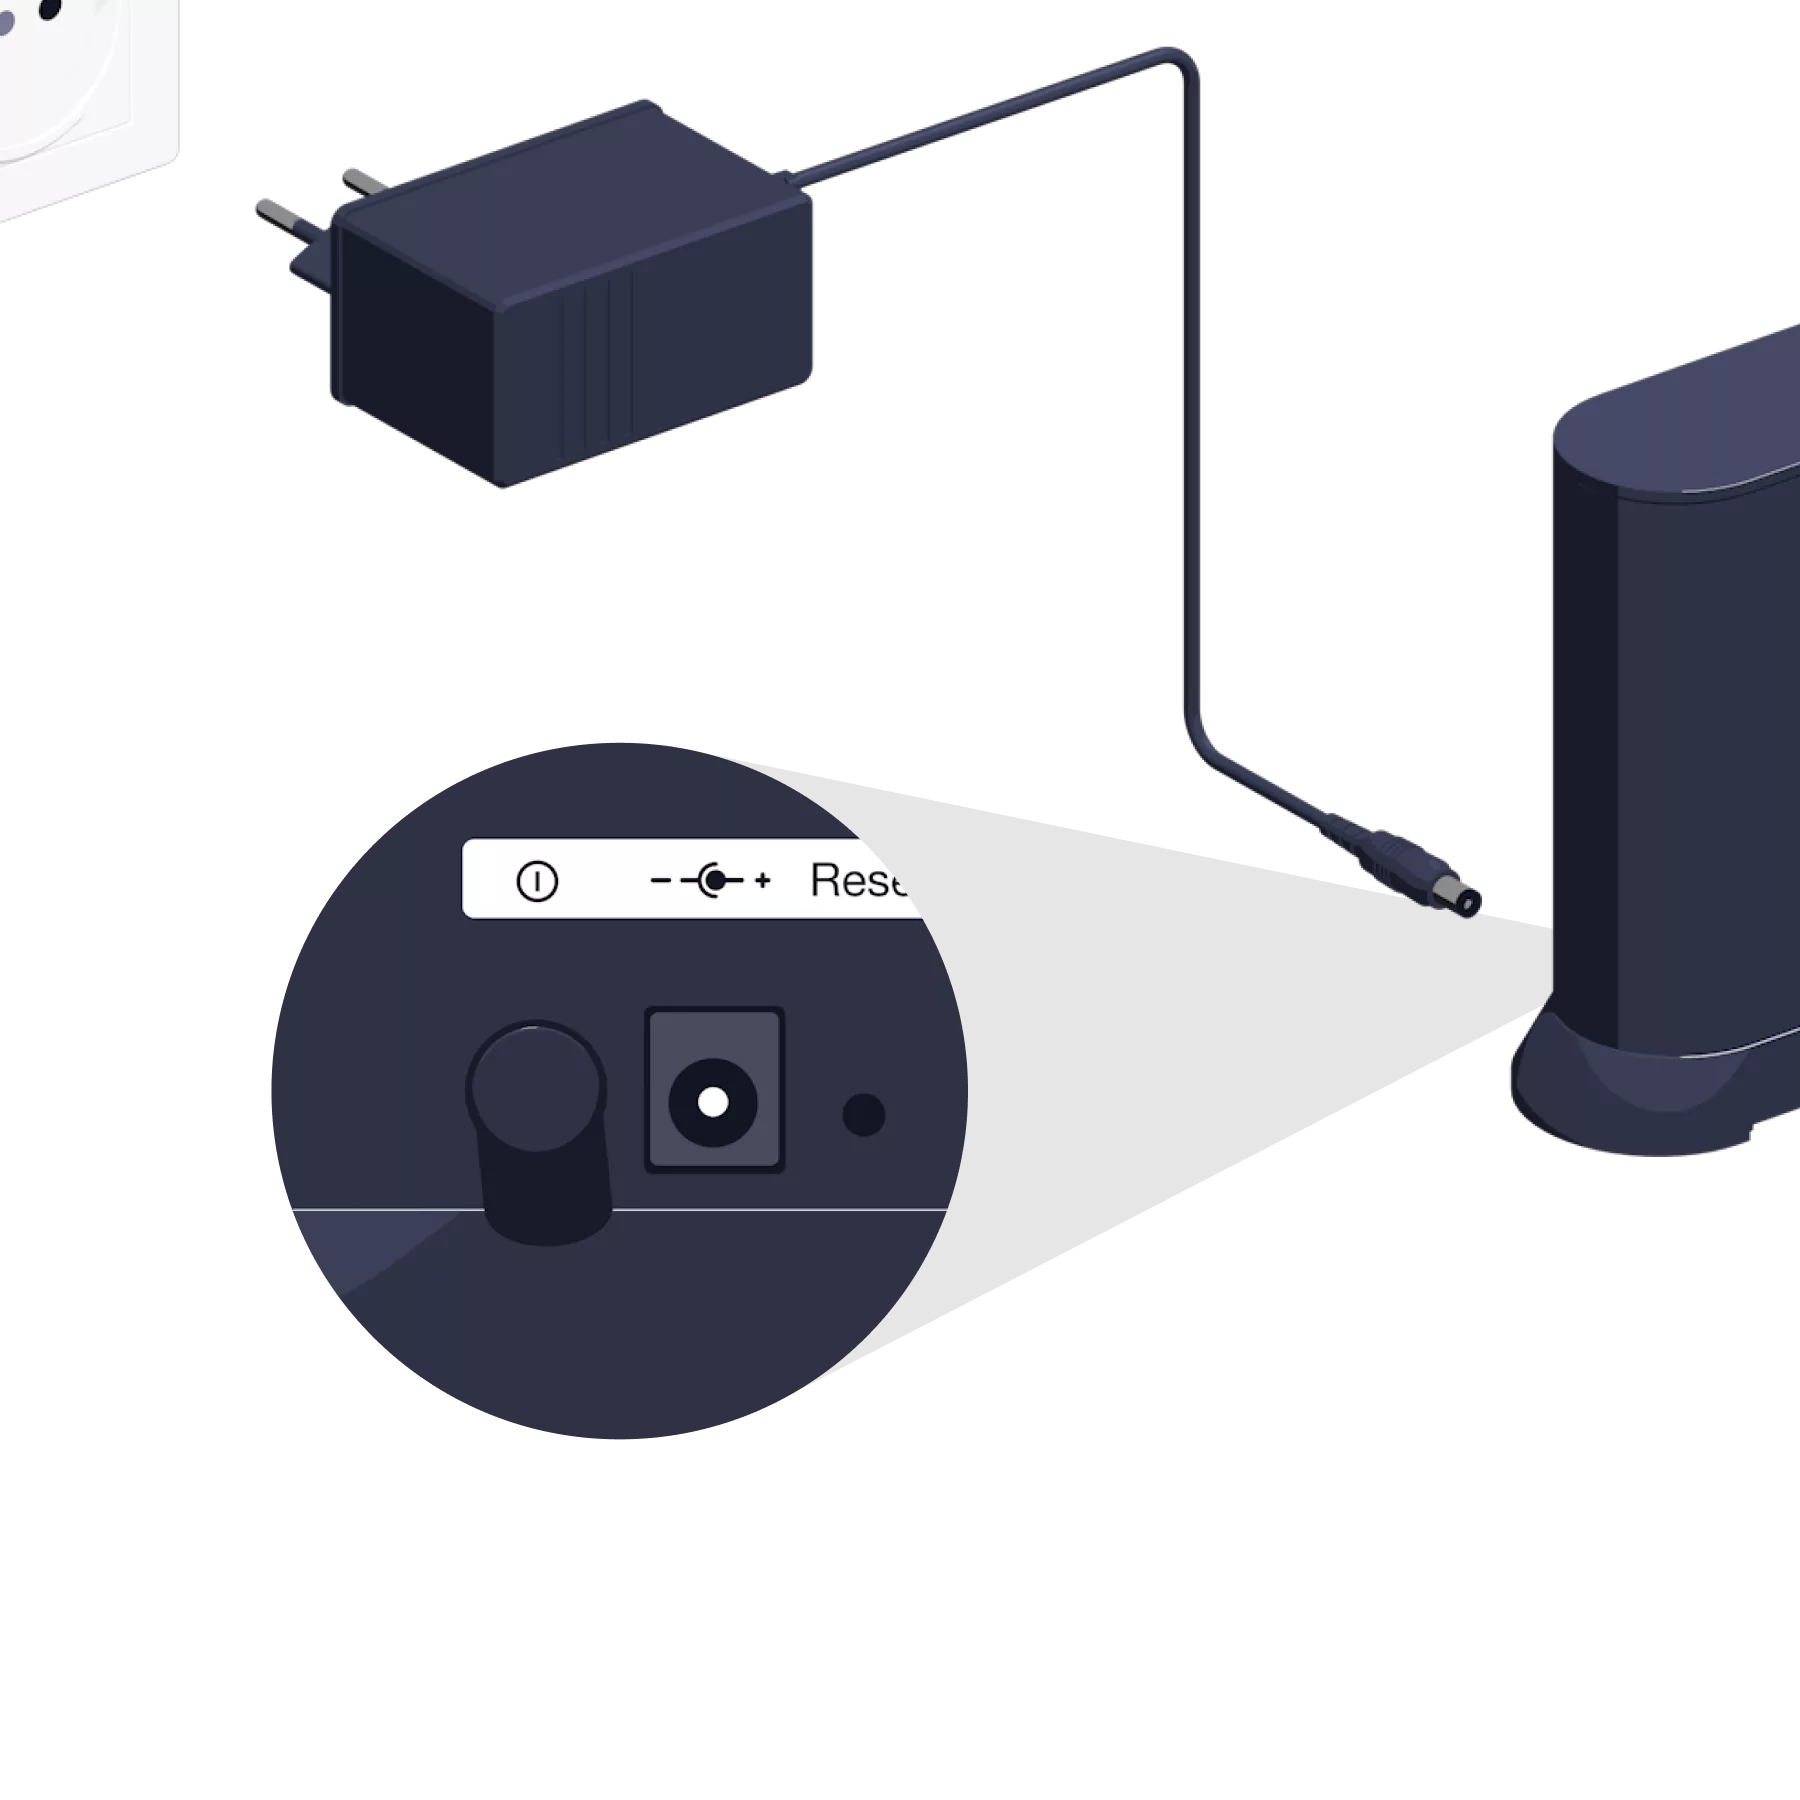
Check the button on the back of the Wi-Fi Booster
The button is set to AUTO.

Switch on the Wi-Fi Booster
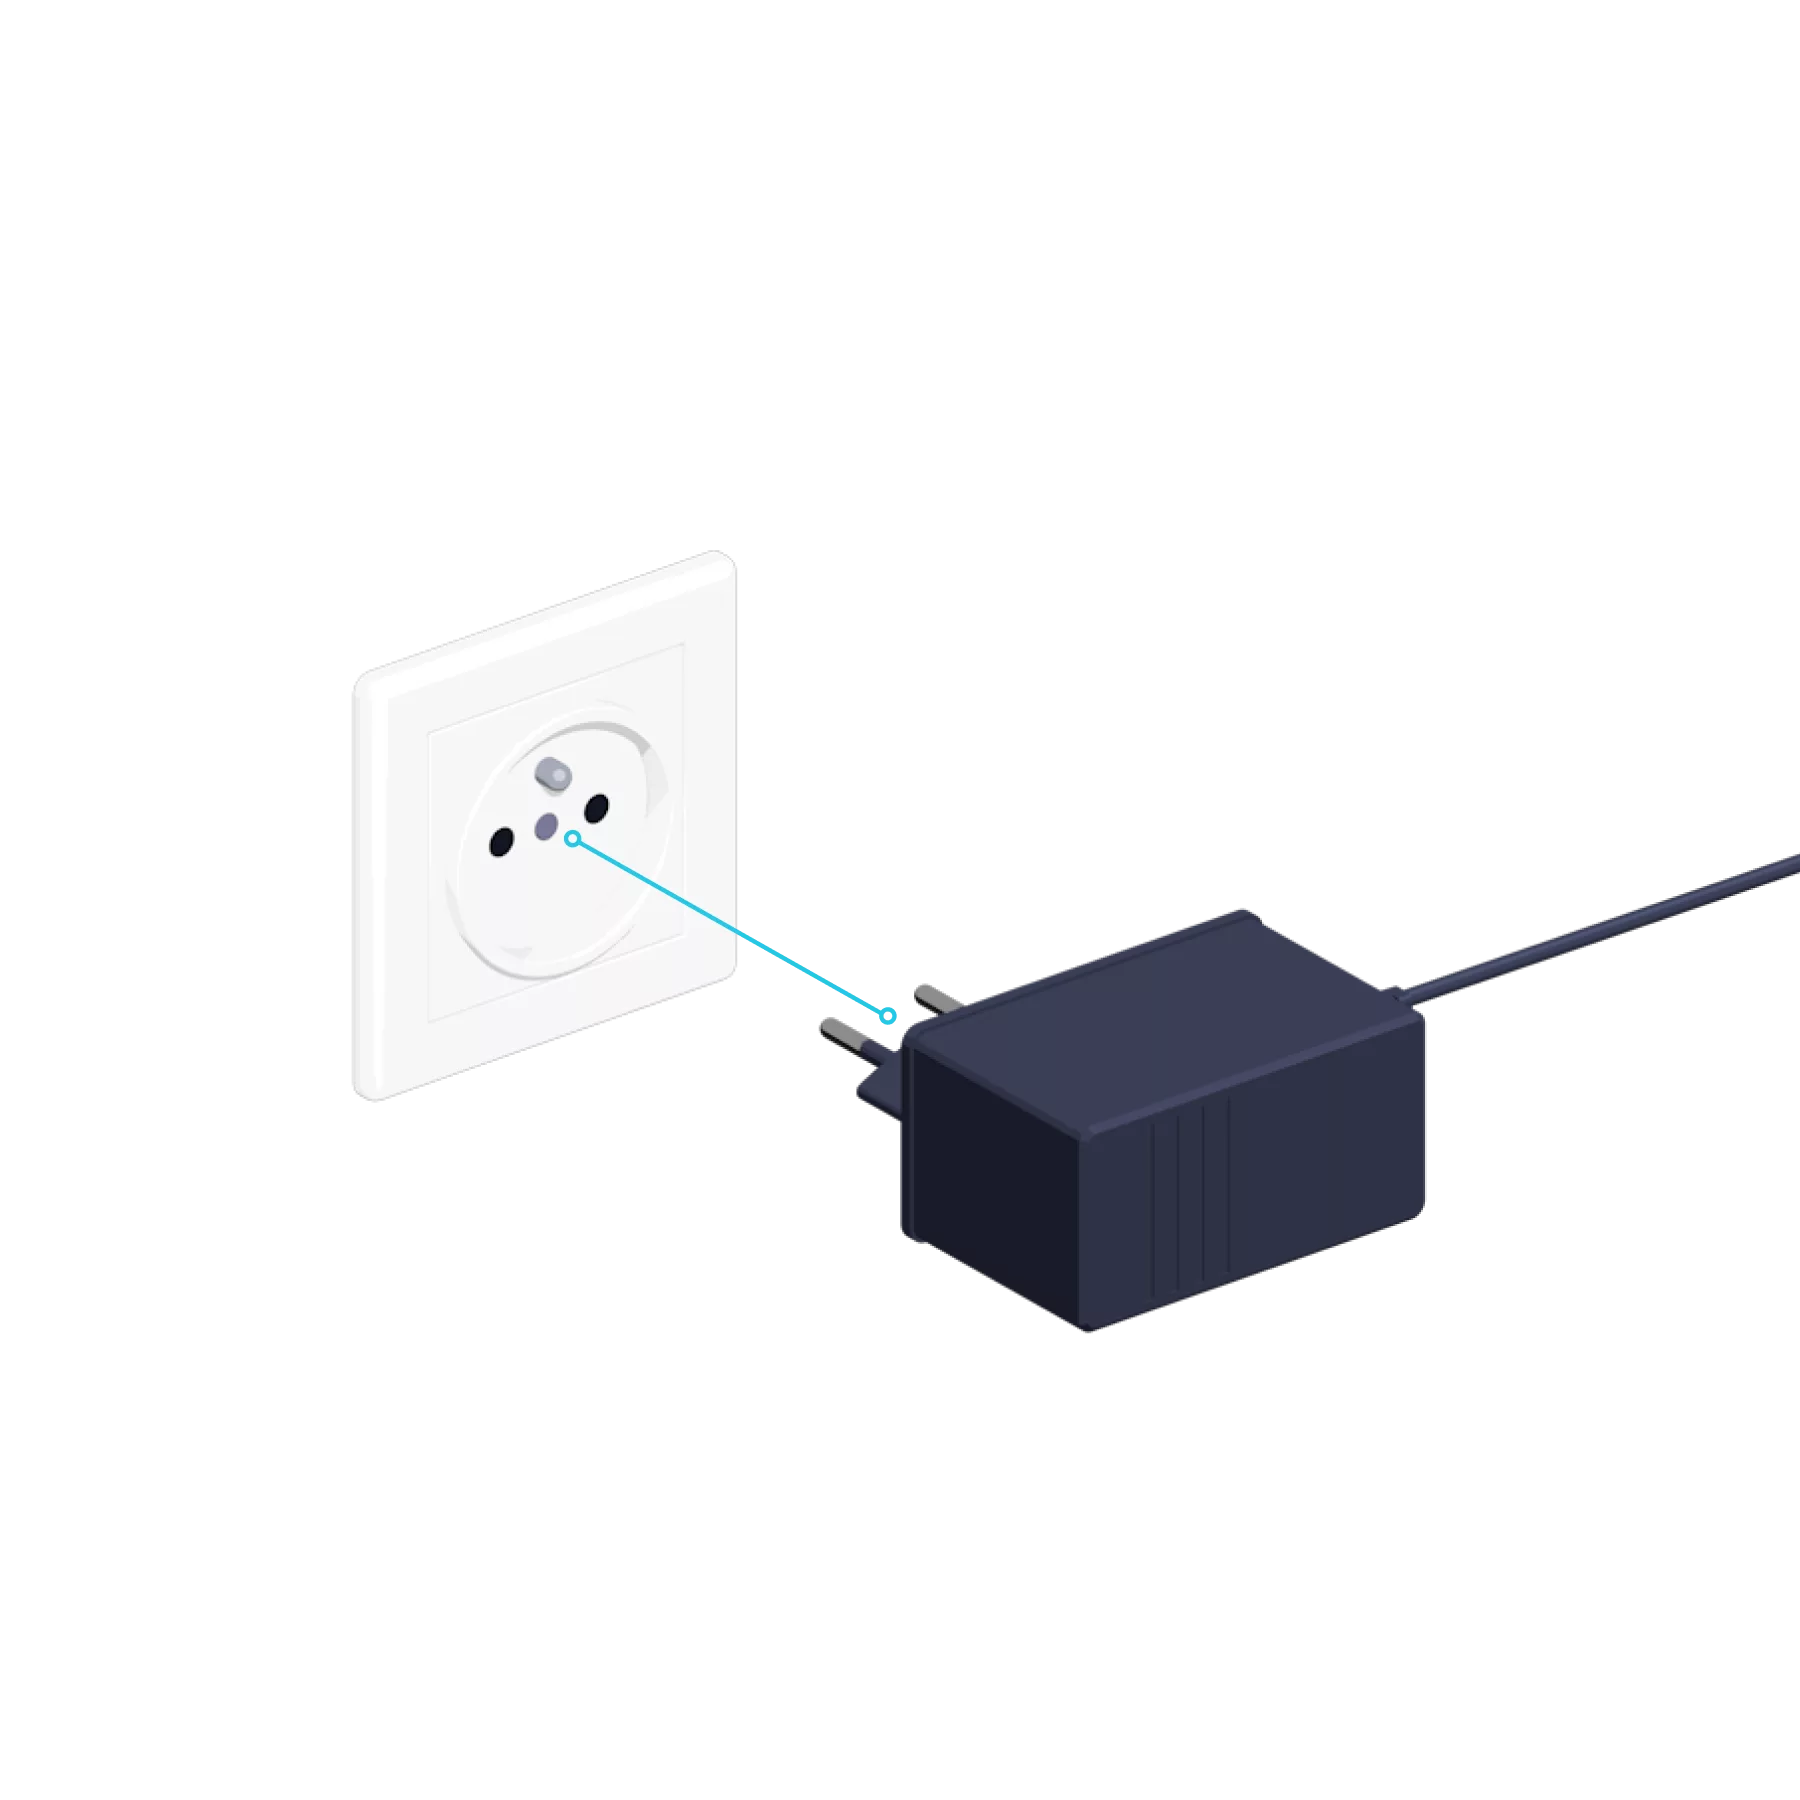
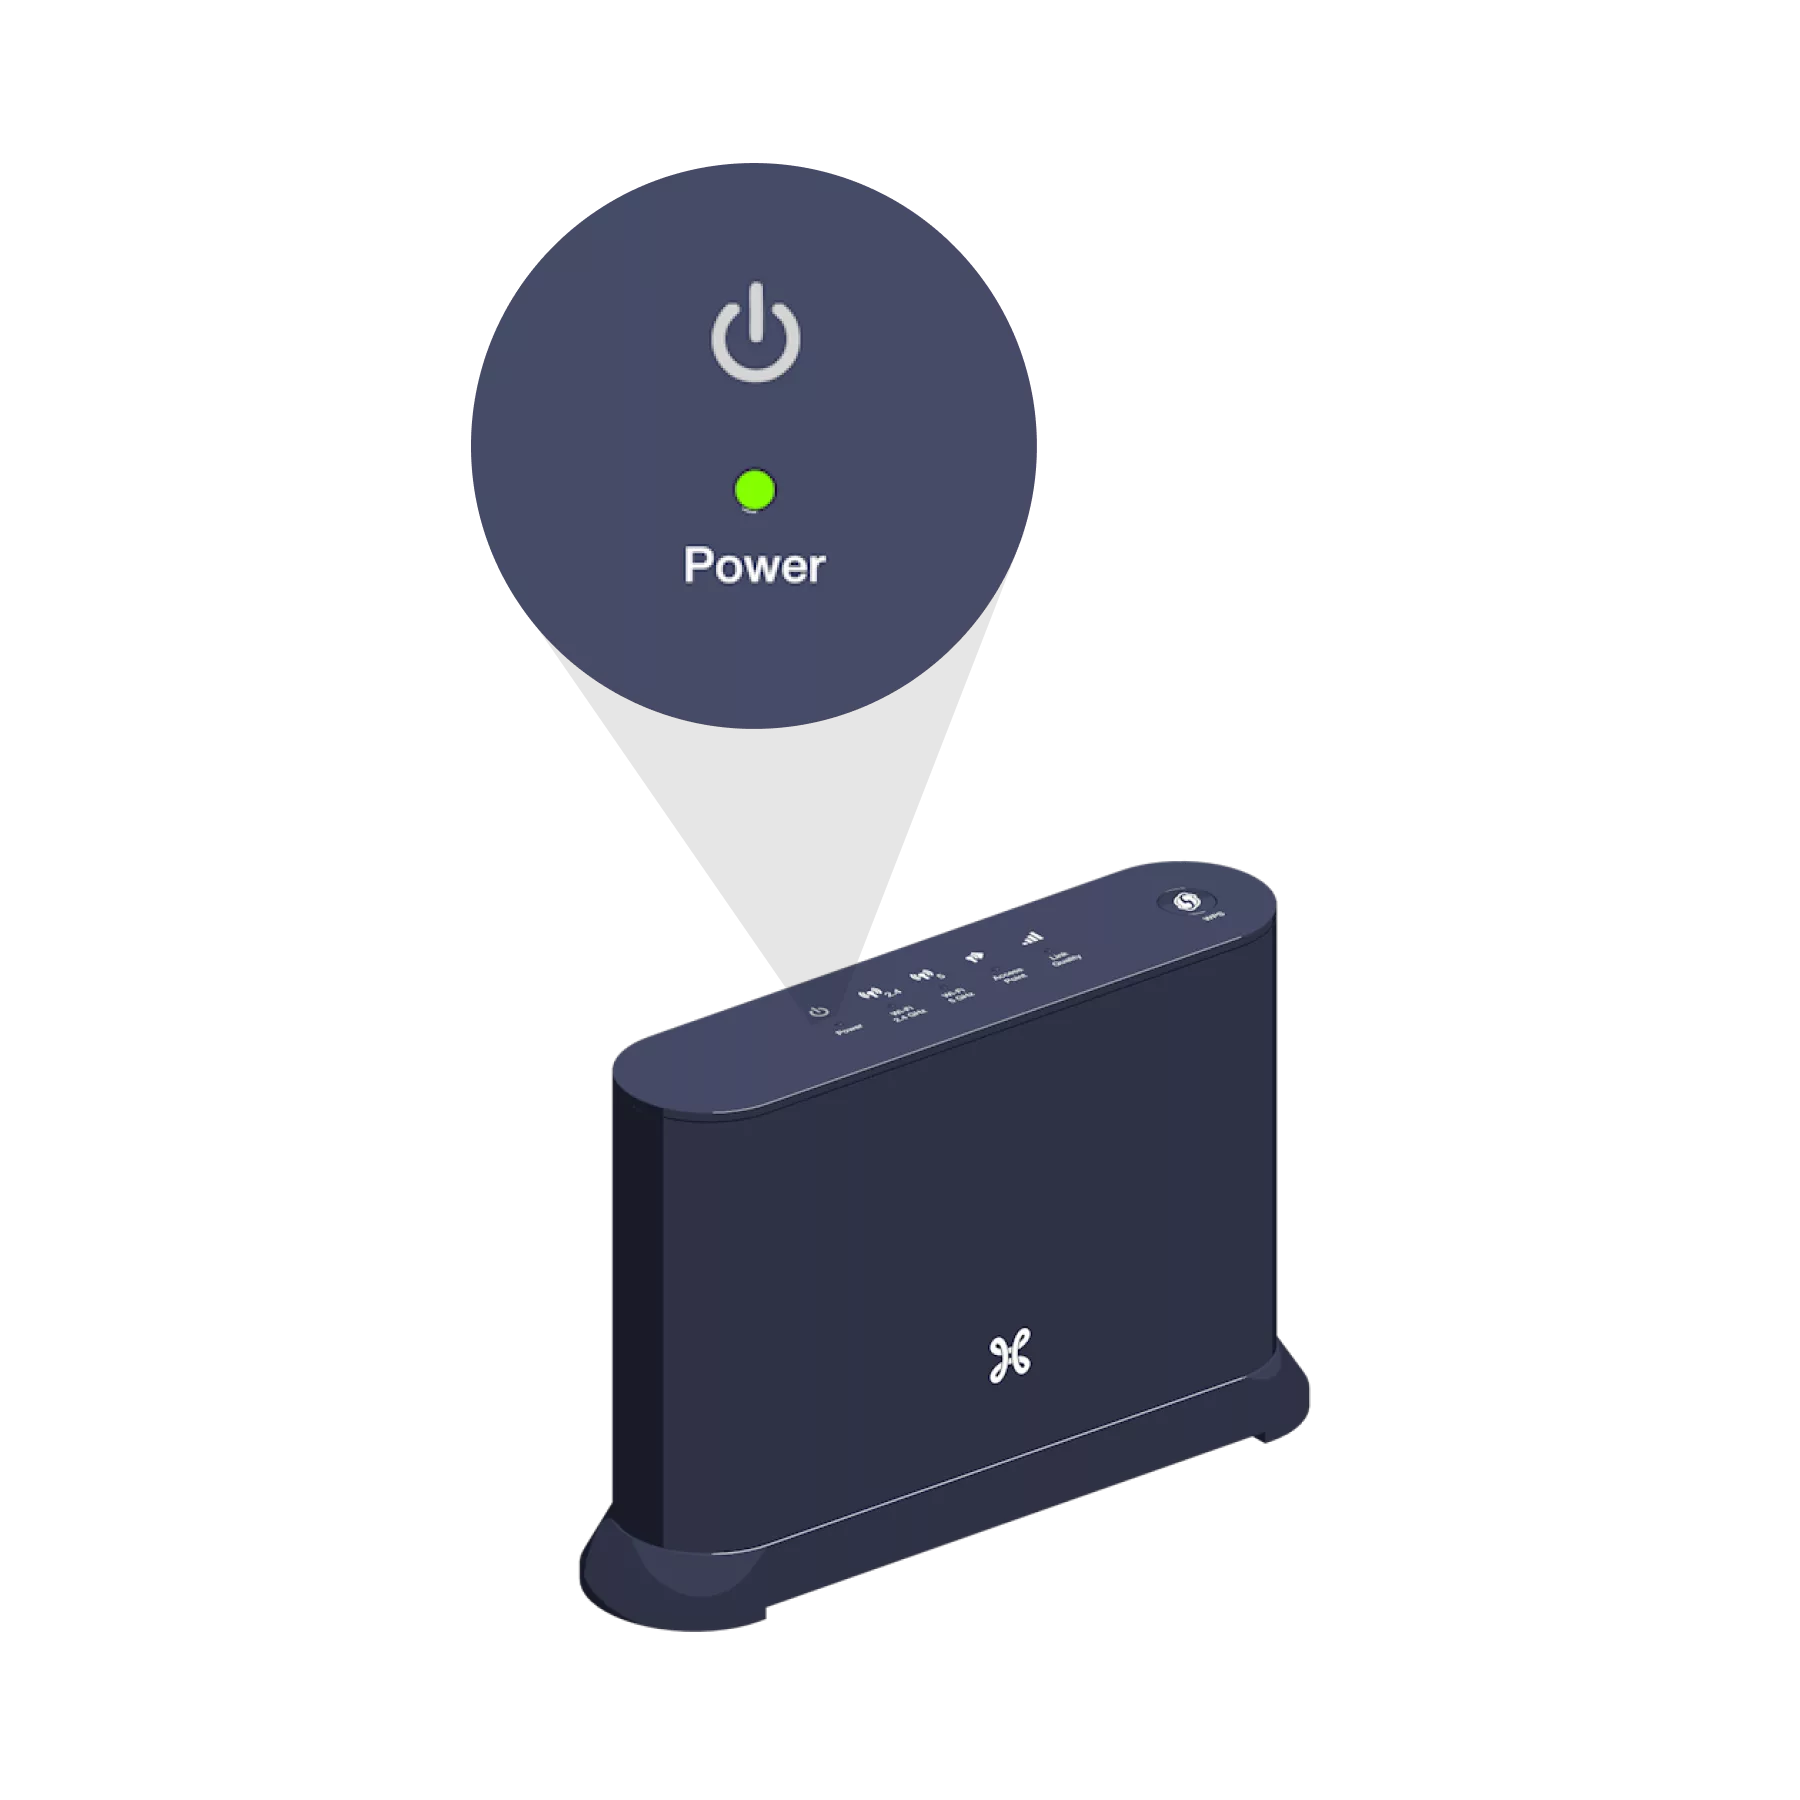
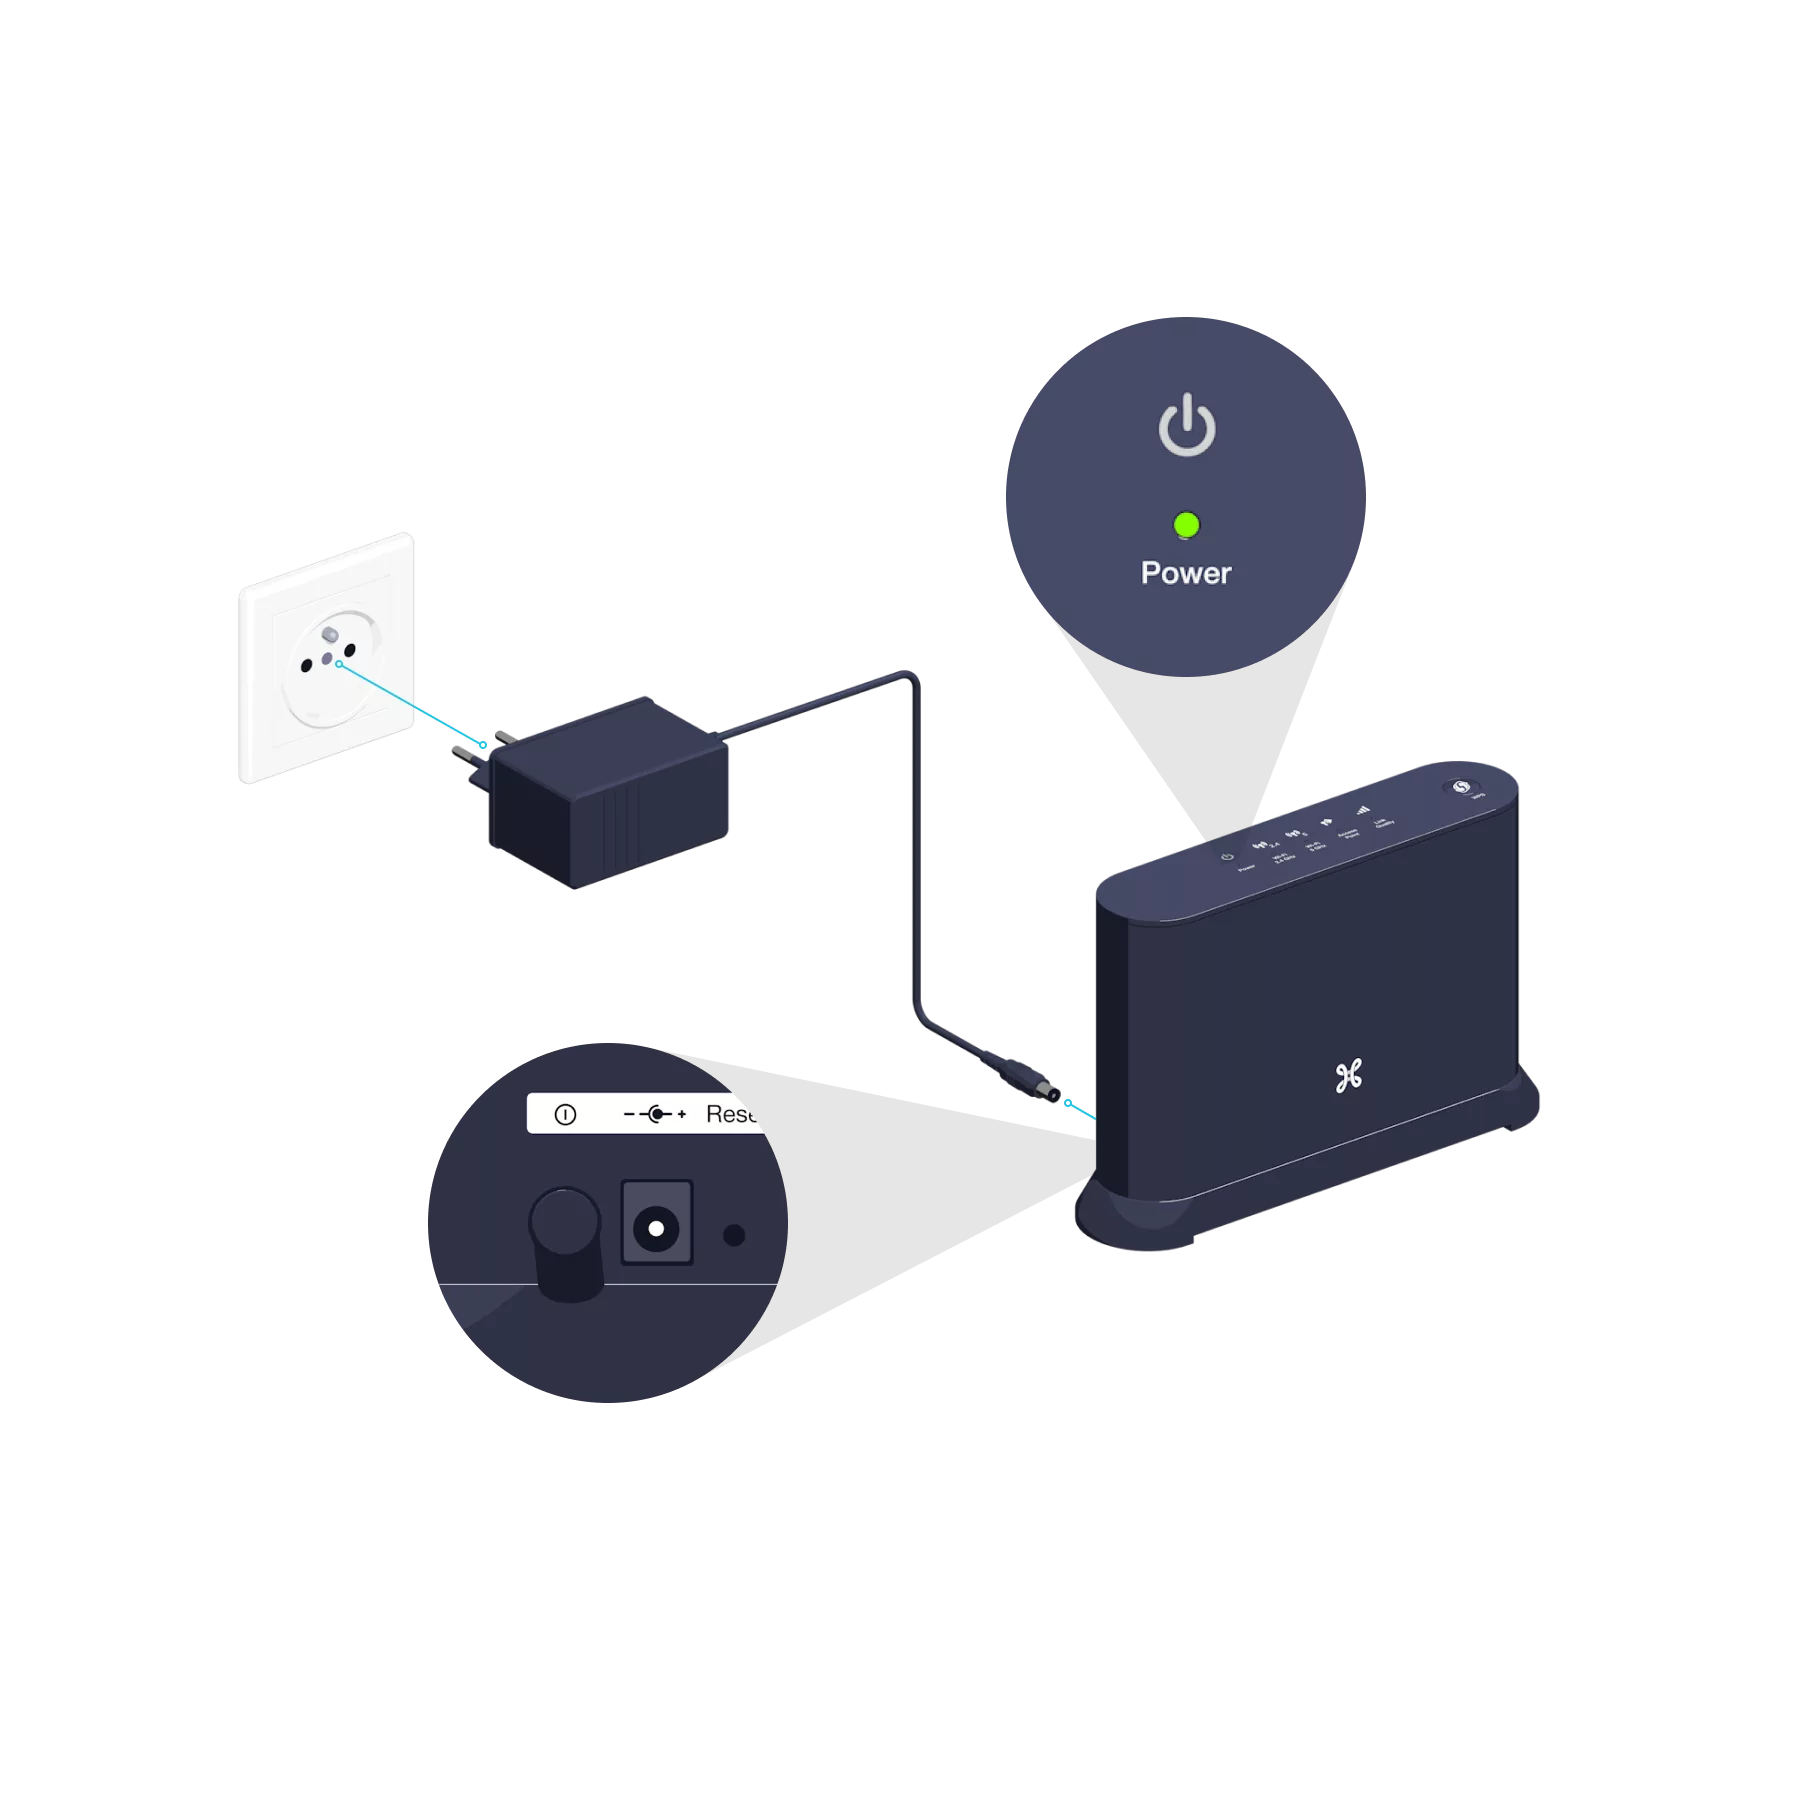
Connect the Wi-Fi Booster’s power cable to a power socket in the same room as the b-box. Press the POWER button; the indicator light will turn green.

Please wait 1 minute for the WPS indicator light to go out.
Synchronize the b-box’s Wi-Fi with the Wi-Fi Booster
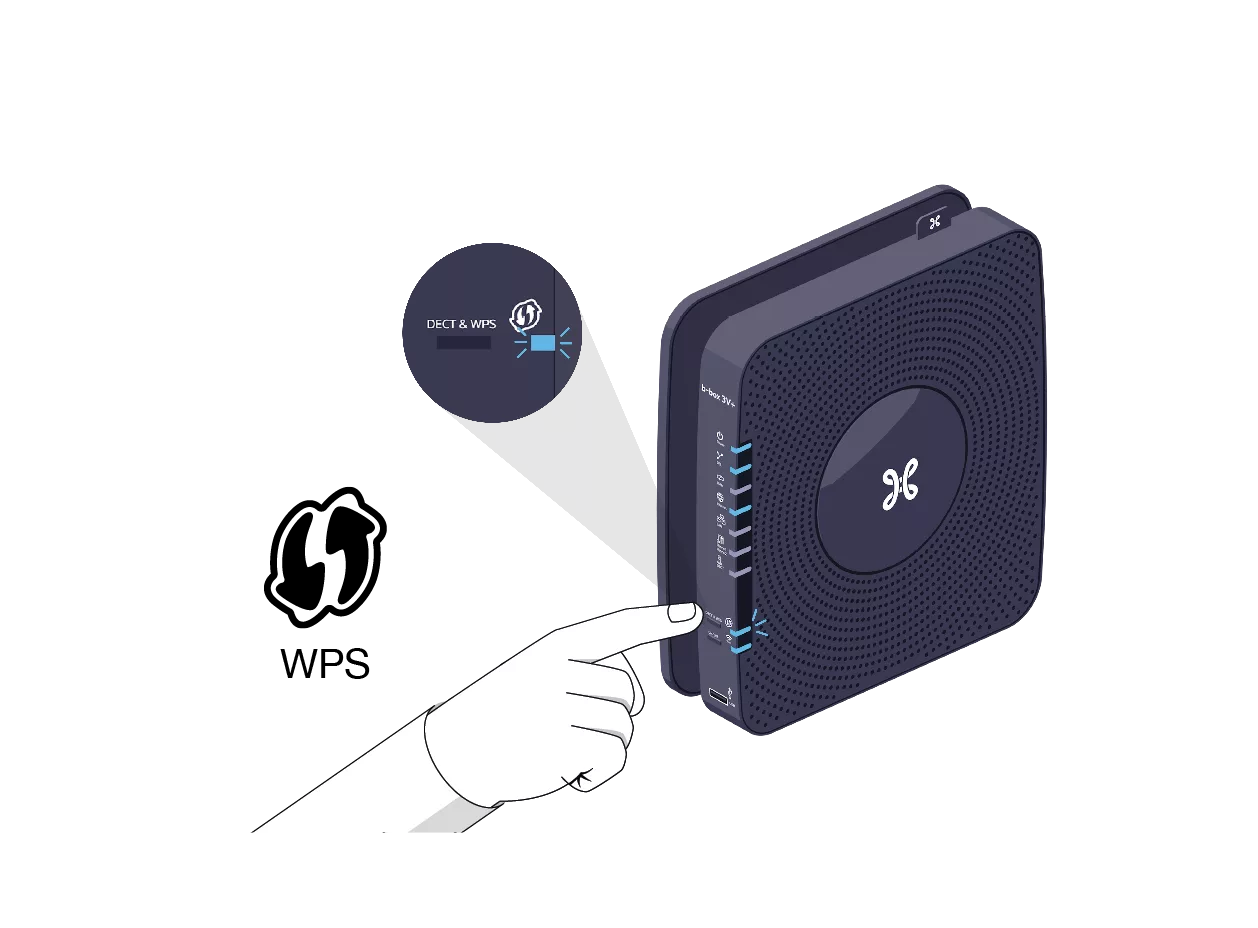
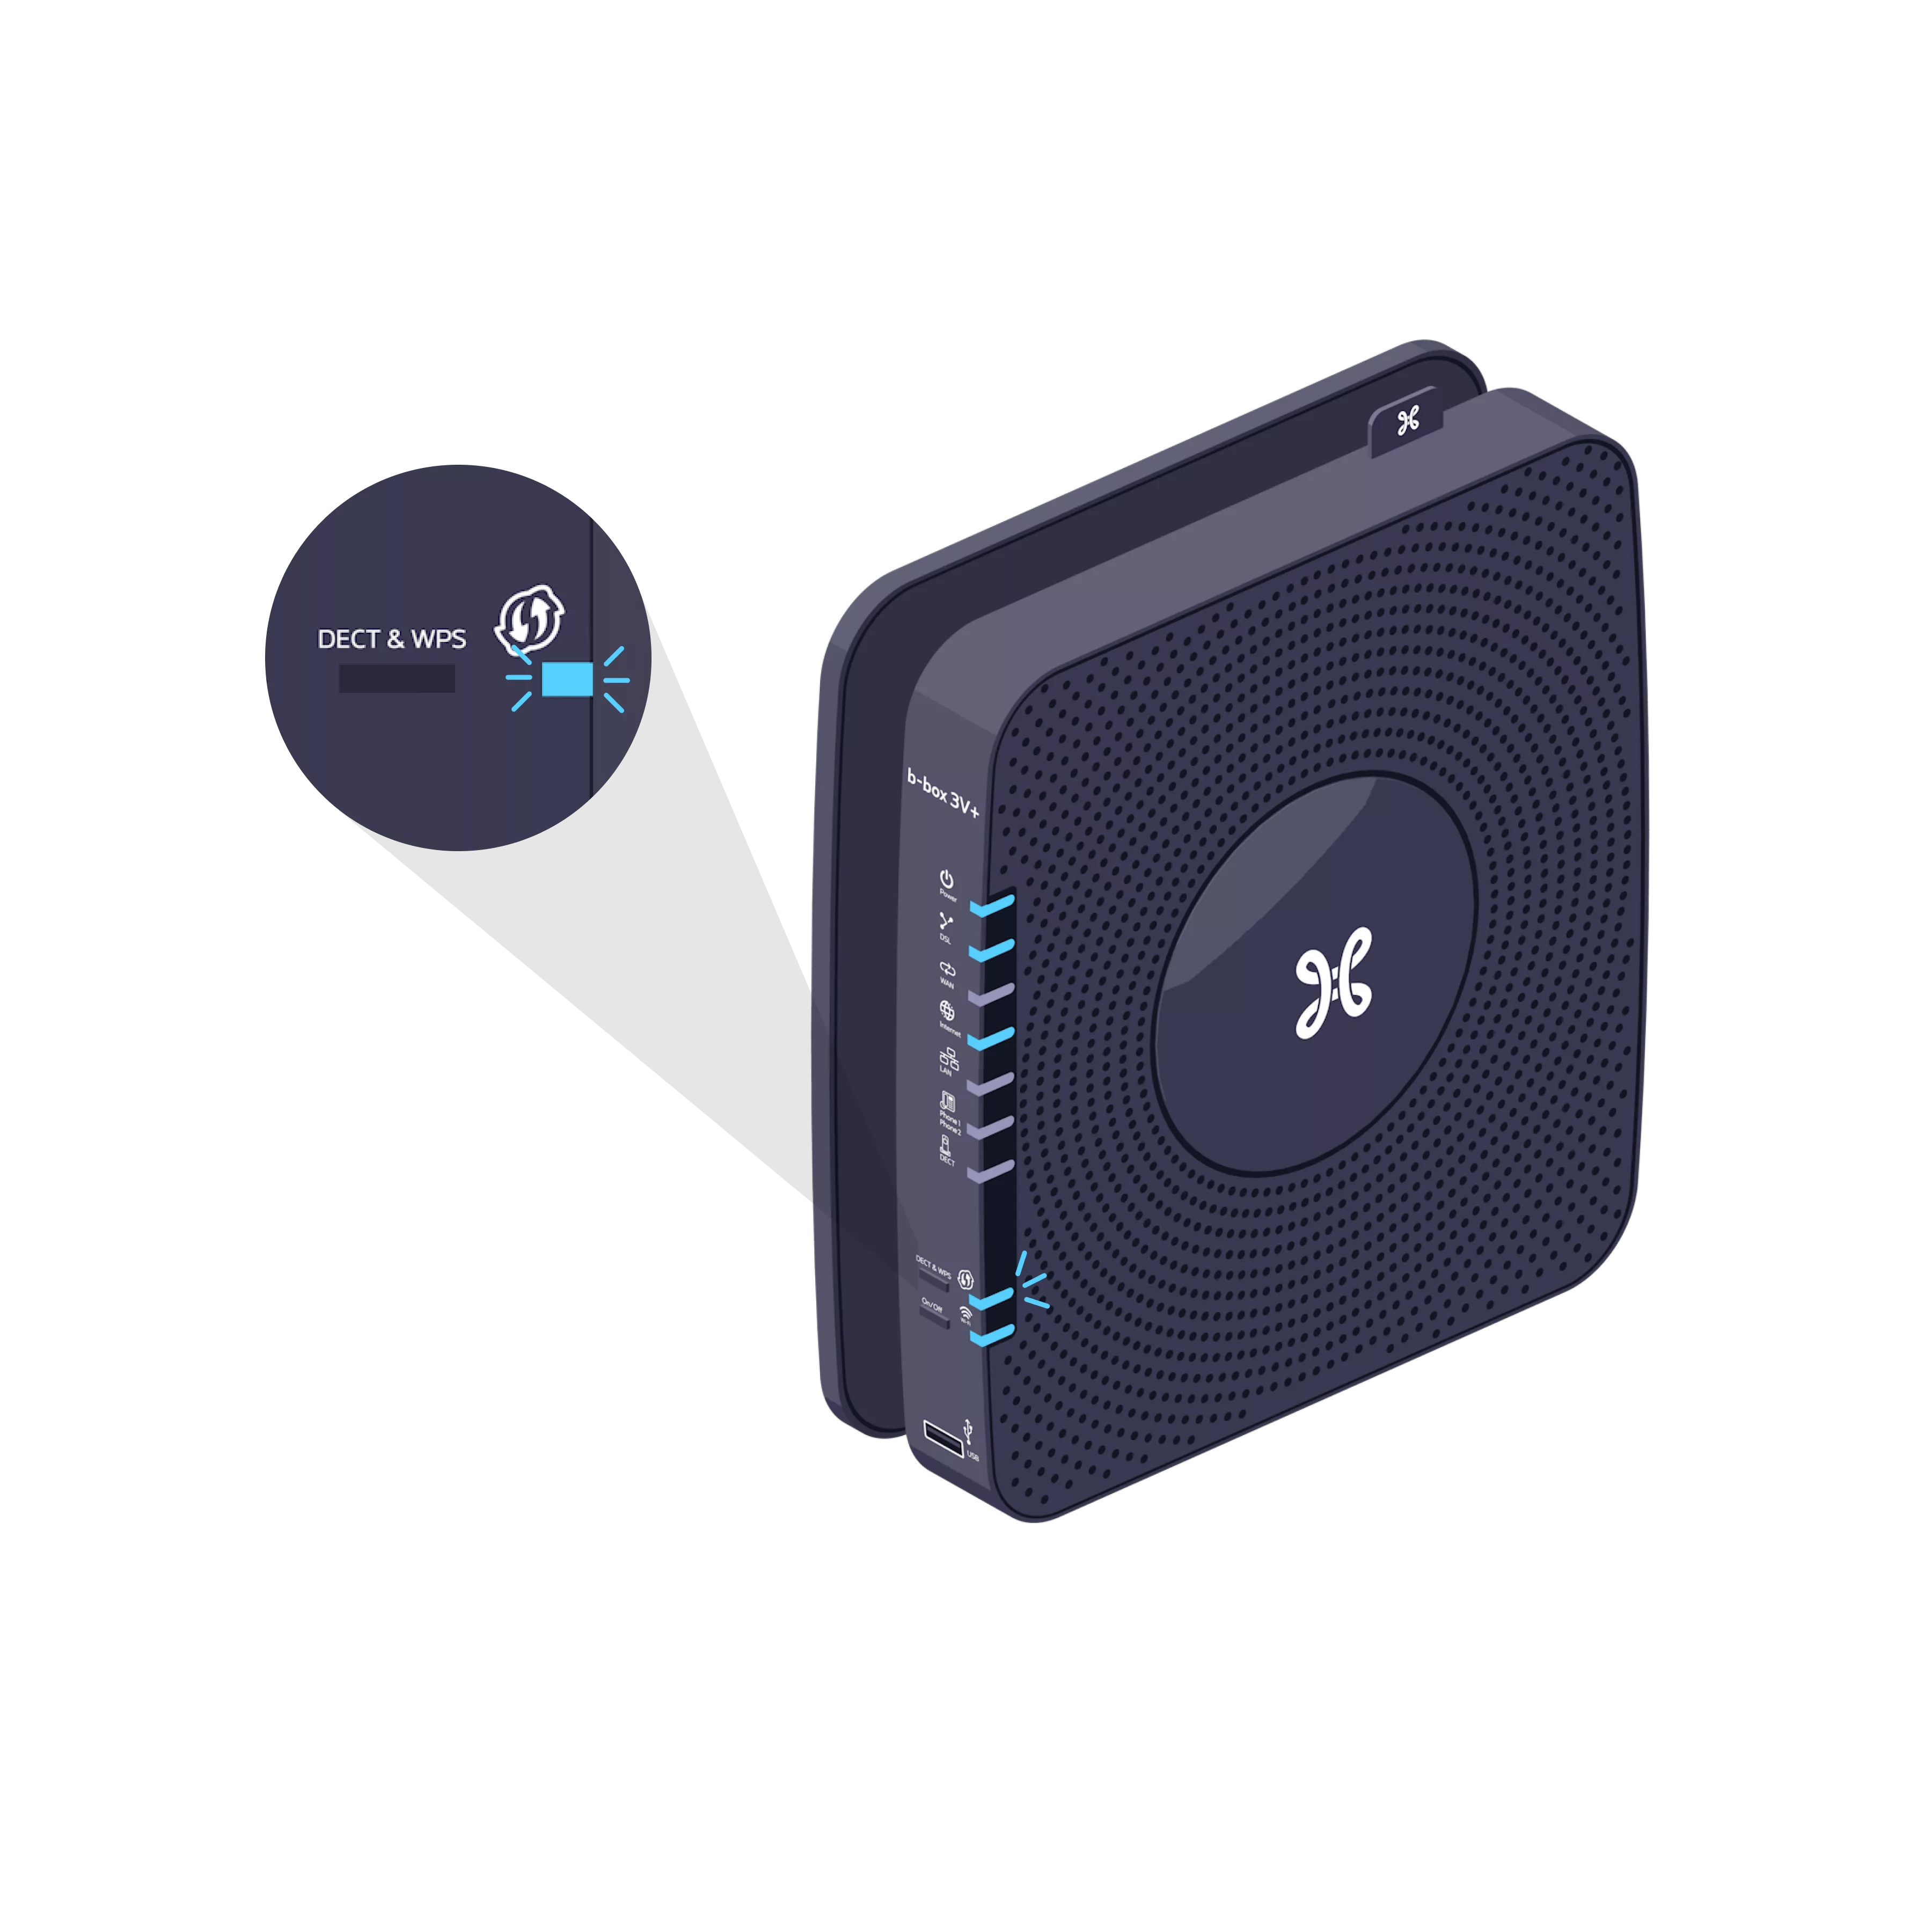
Press and hold the WPS button on your b-box for 2 seconds.

The WPS synchronisation indicator light is flashing.
Within 2 minutes, press the WPS button on the Wi-Fi Booster.
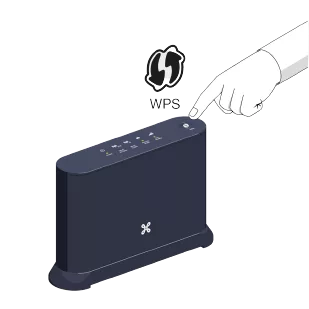
The indicator lights on both devices will flash and then go out after a few moments.
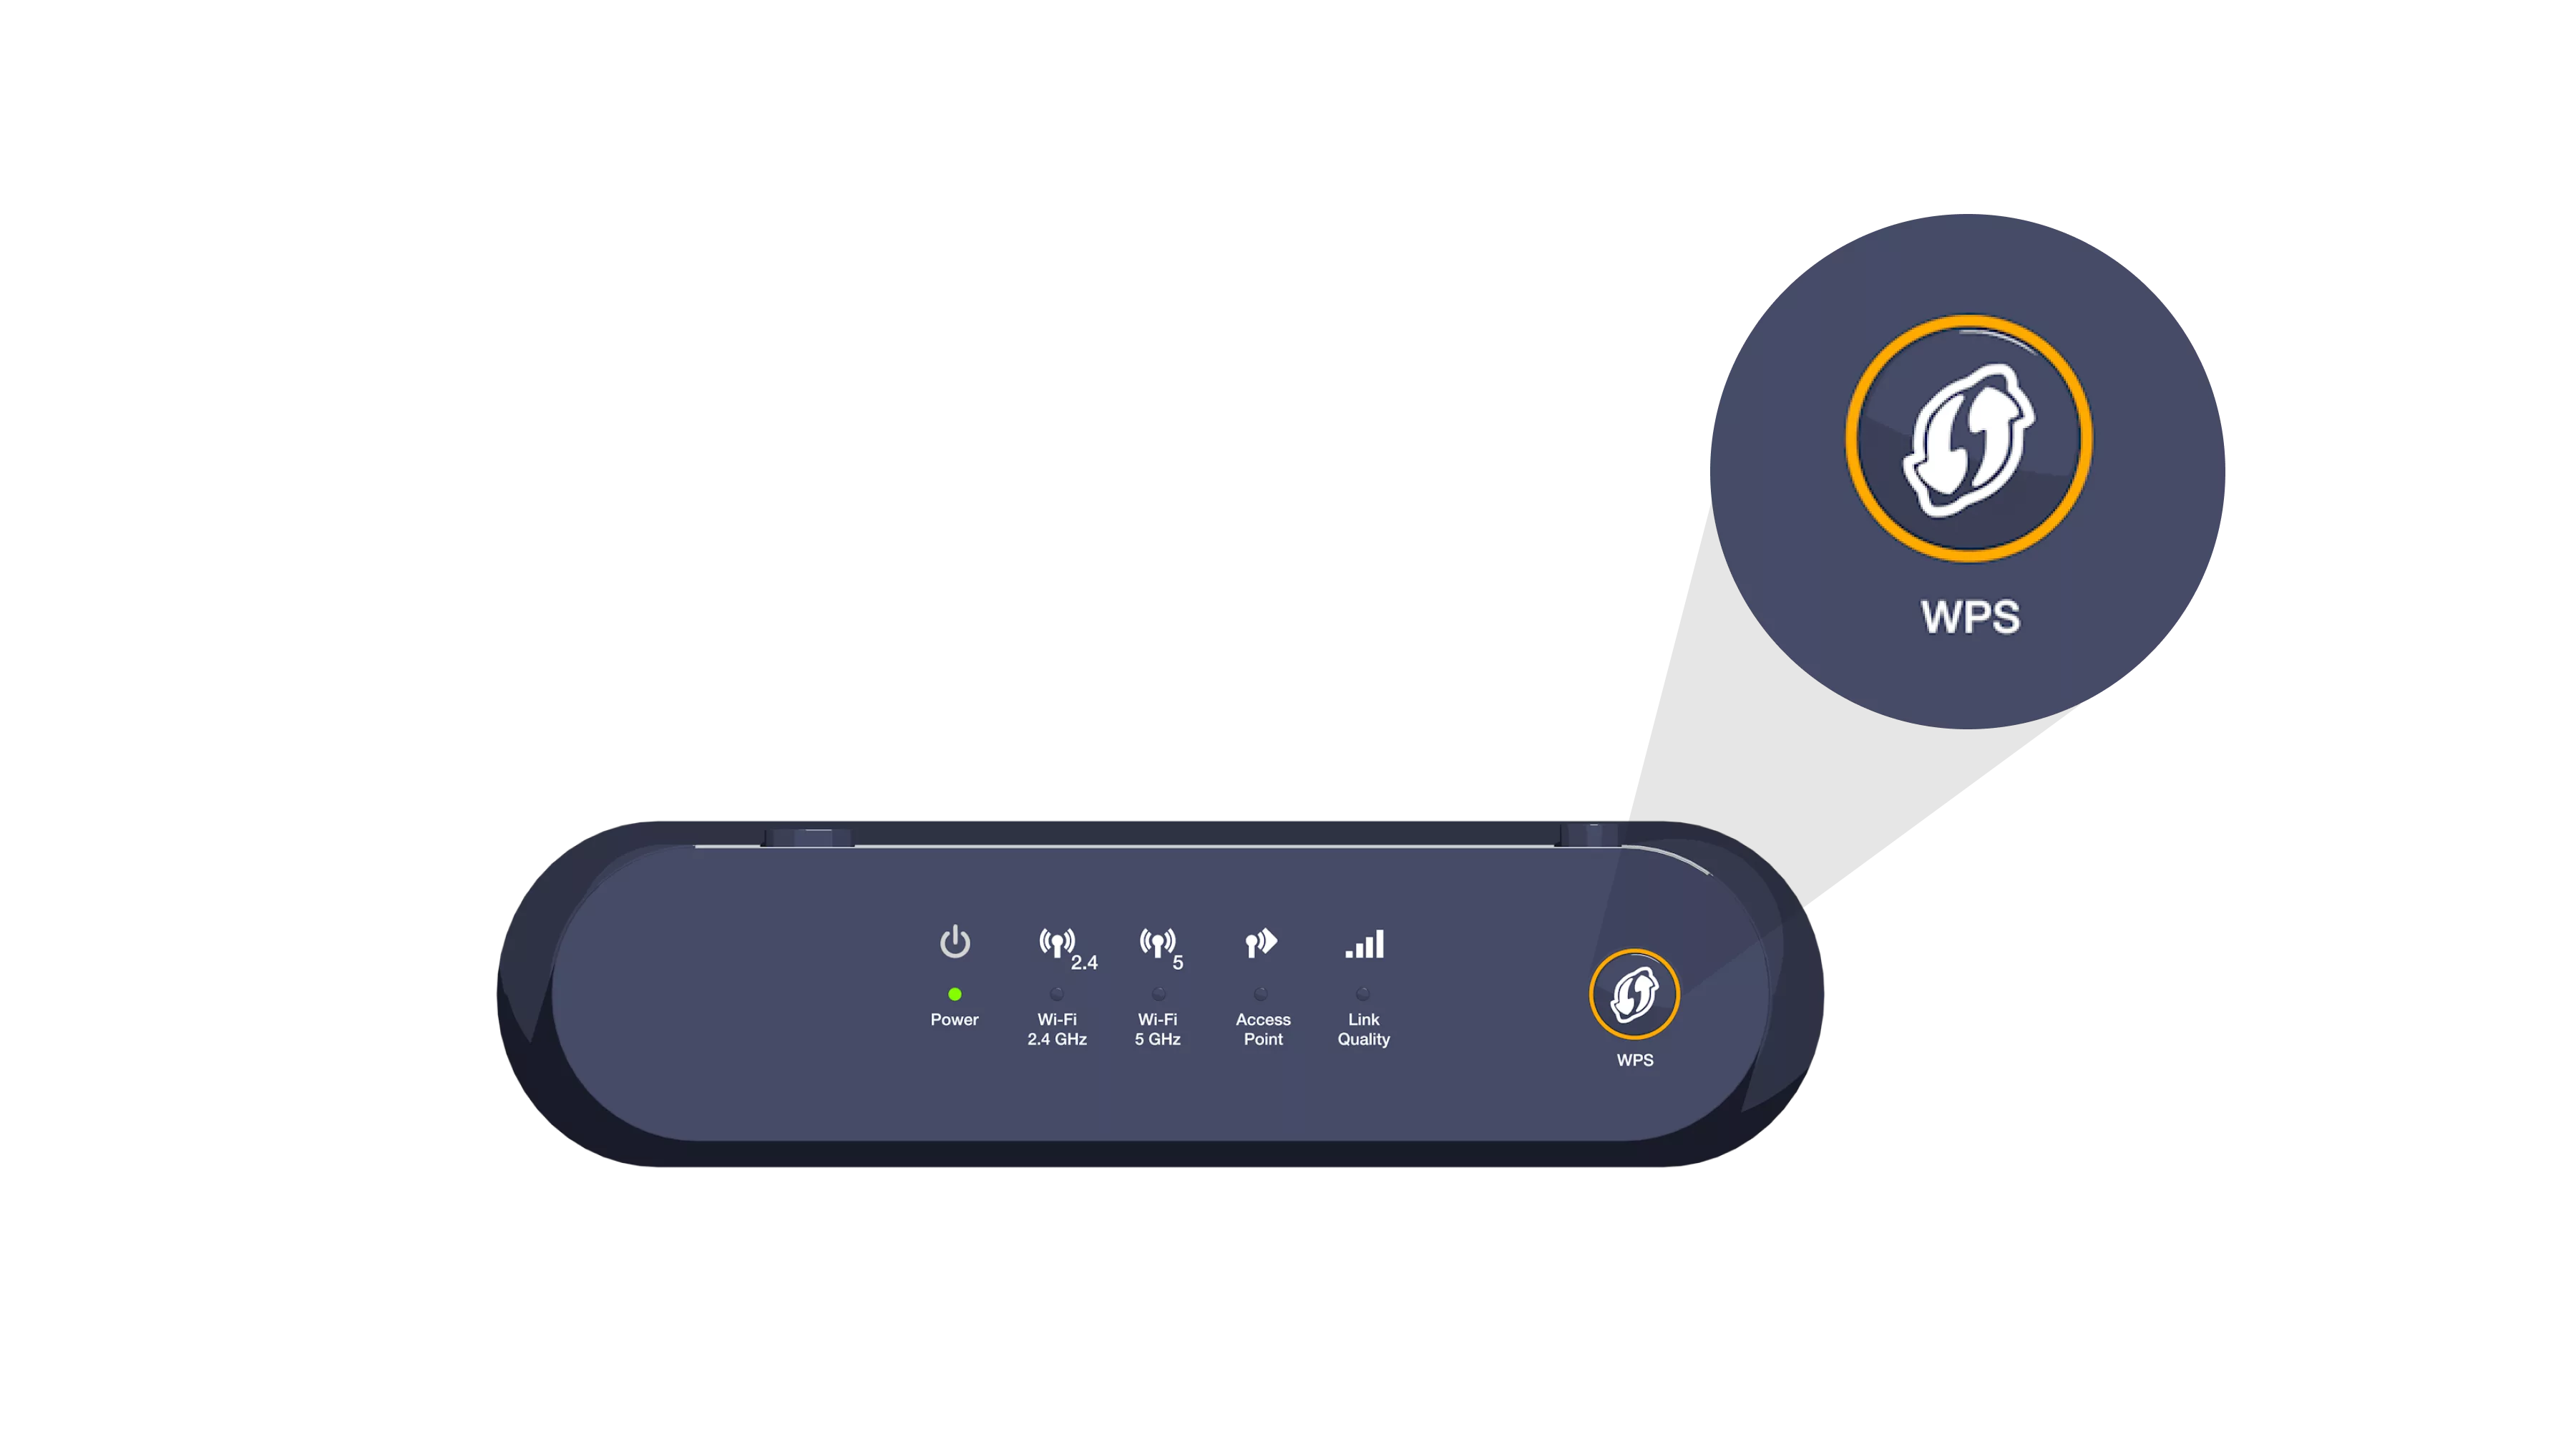

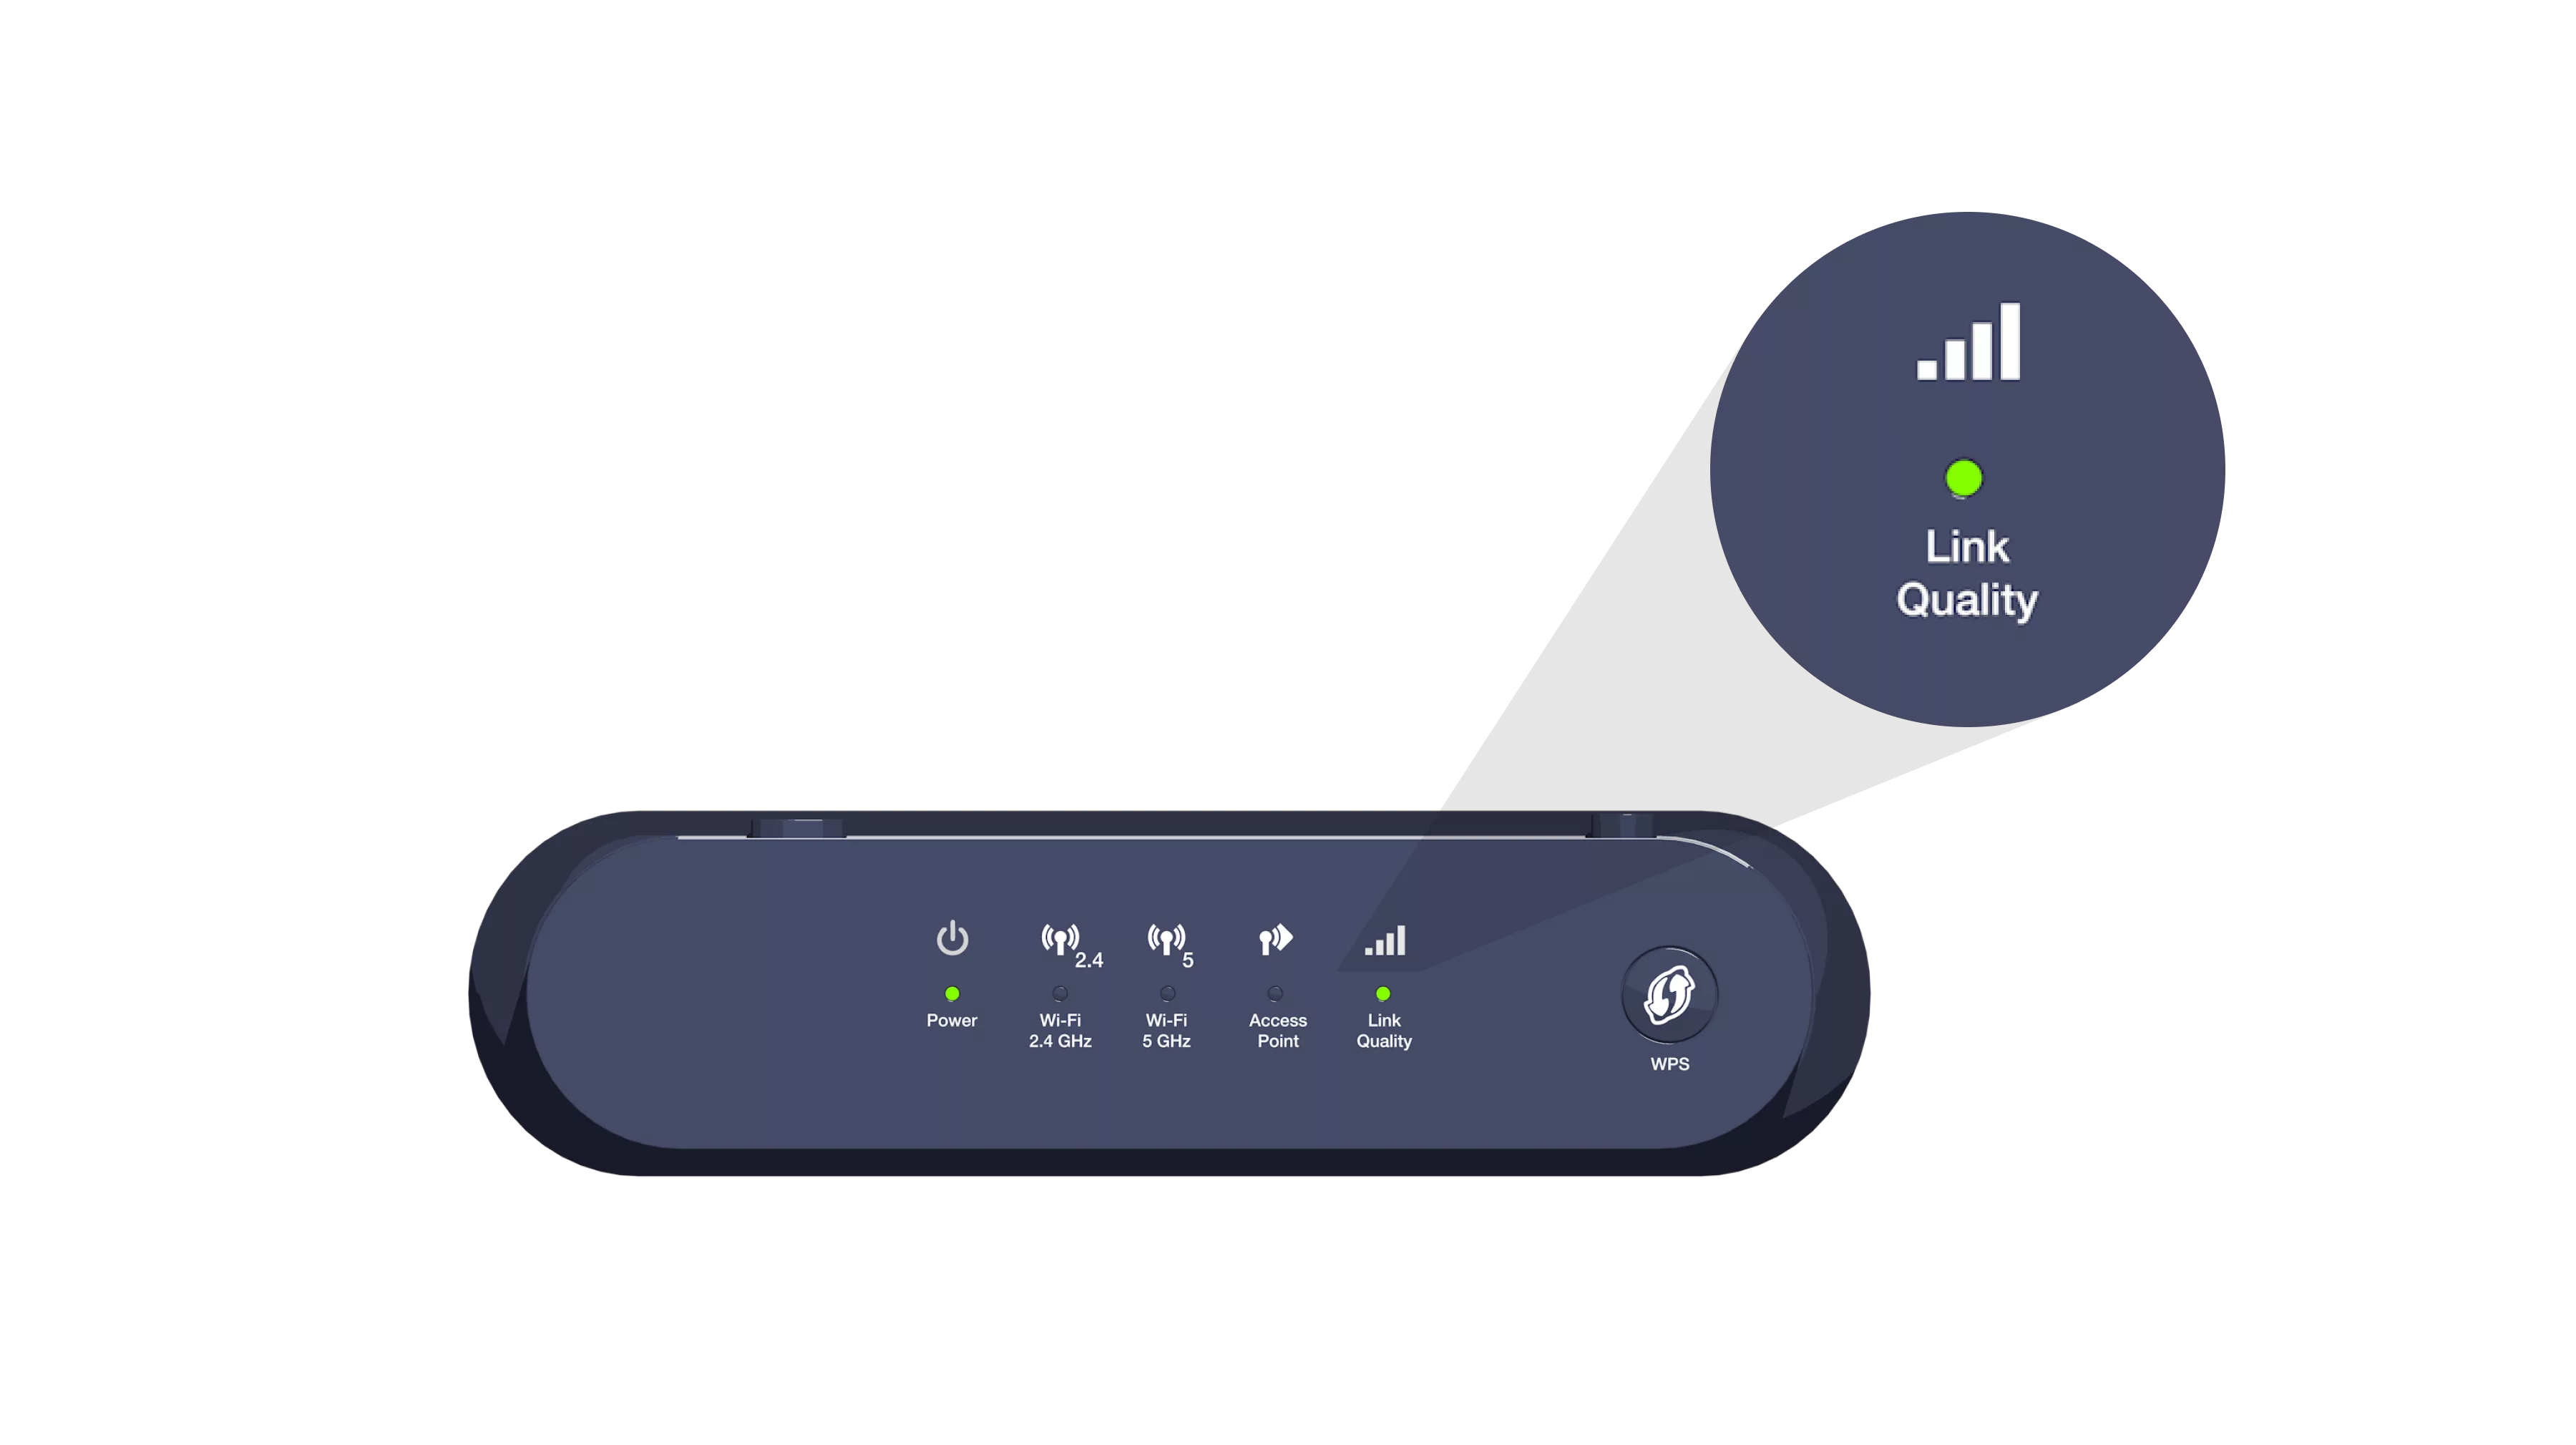
Once synchronisation is complete, the Link Quality indicator light remains turned on.
You can unplug your Wi-Fi Booster and place it in a central position between the b-box and the device that needs to receive the Wi-Fi signal.
-
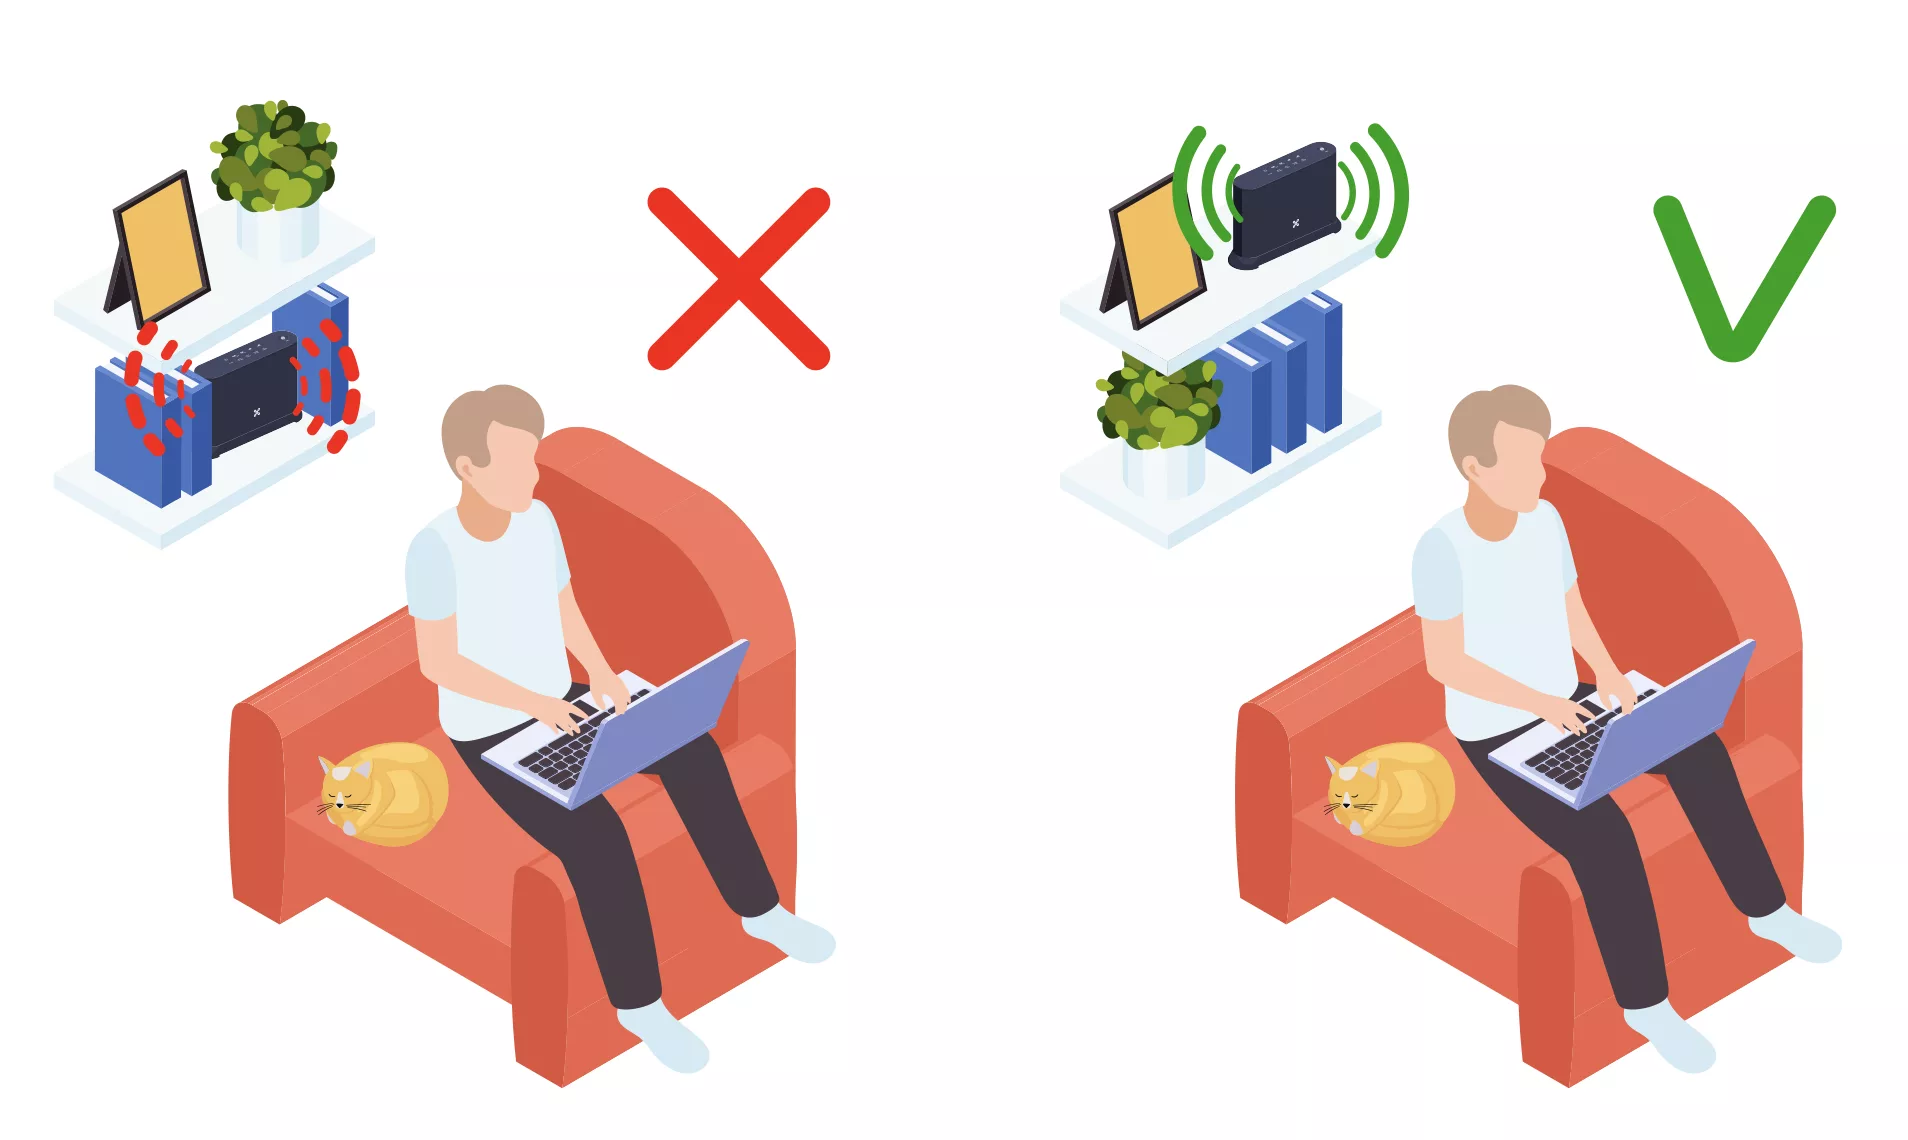 Ideally
, place it- more than one metre above the floor
- in an open space, on a piece of furniture for example
- ideally with as few obstacles as possible between the Wi-Fi Booster and the b-box: concrete walls, ceilings, mirrors, doors and closed cupboards can weaken the Wi-Fi signal
Switch the Wi-Fi Booster back on
Connect the Wi-Fi Booster’s power supply cable to the power socket. Check that the POWER button is pressed down.


The indicator lights turn green.

Make sure the Link Quality indicator light remains green, which indicates an optimal Wi-Fi signal between the b-box and the Wi-Fi Booster. If this is not the case, move the Wi-Fi Booster closer to the b-box.

-
You’re free to connect other devices to the other free yellow Ethernet port on the Wi-Fi Booster: a games console, Blu-ray player, TV Box or computer.
-
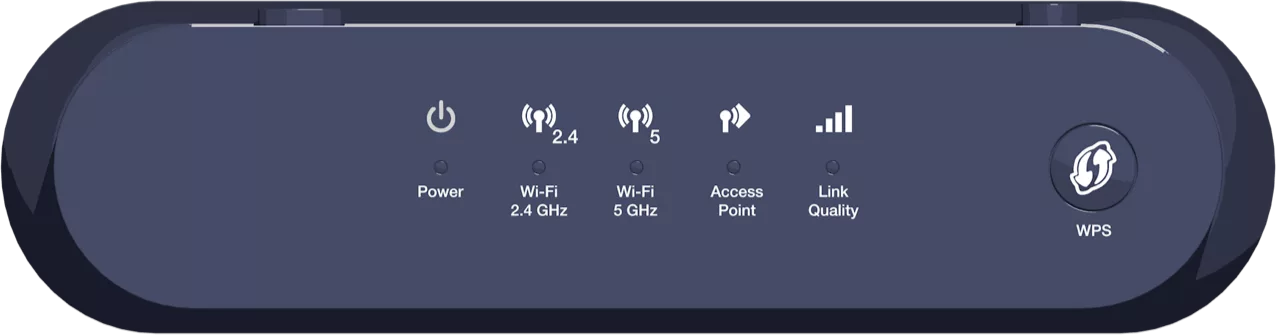
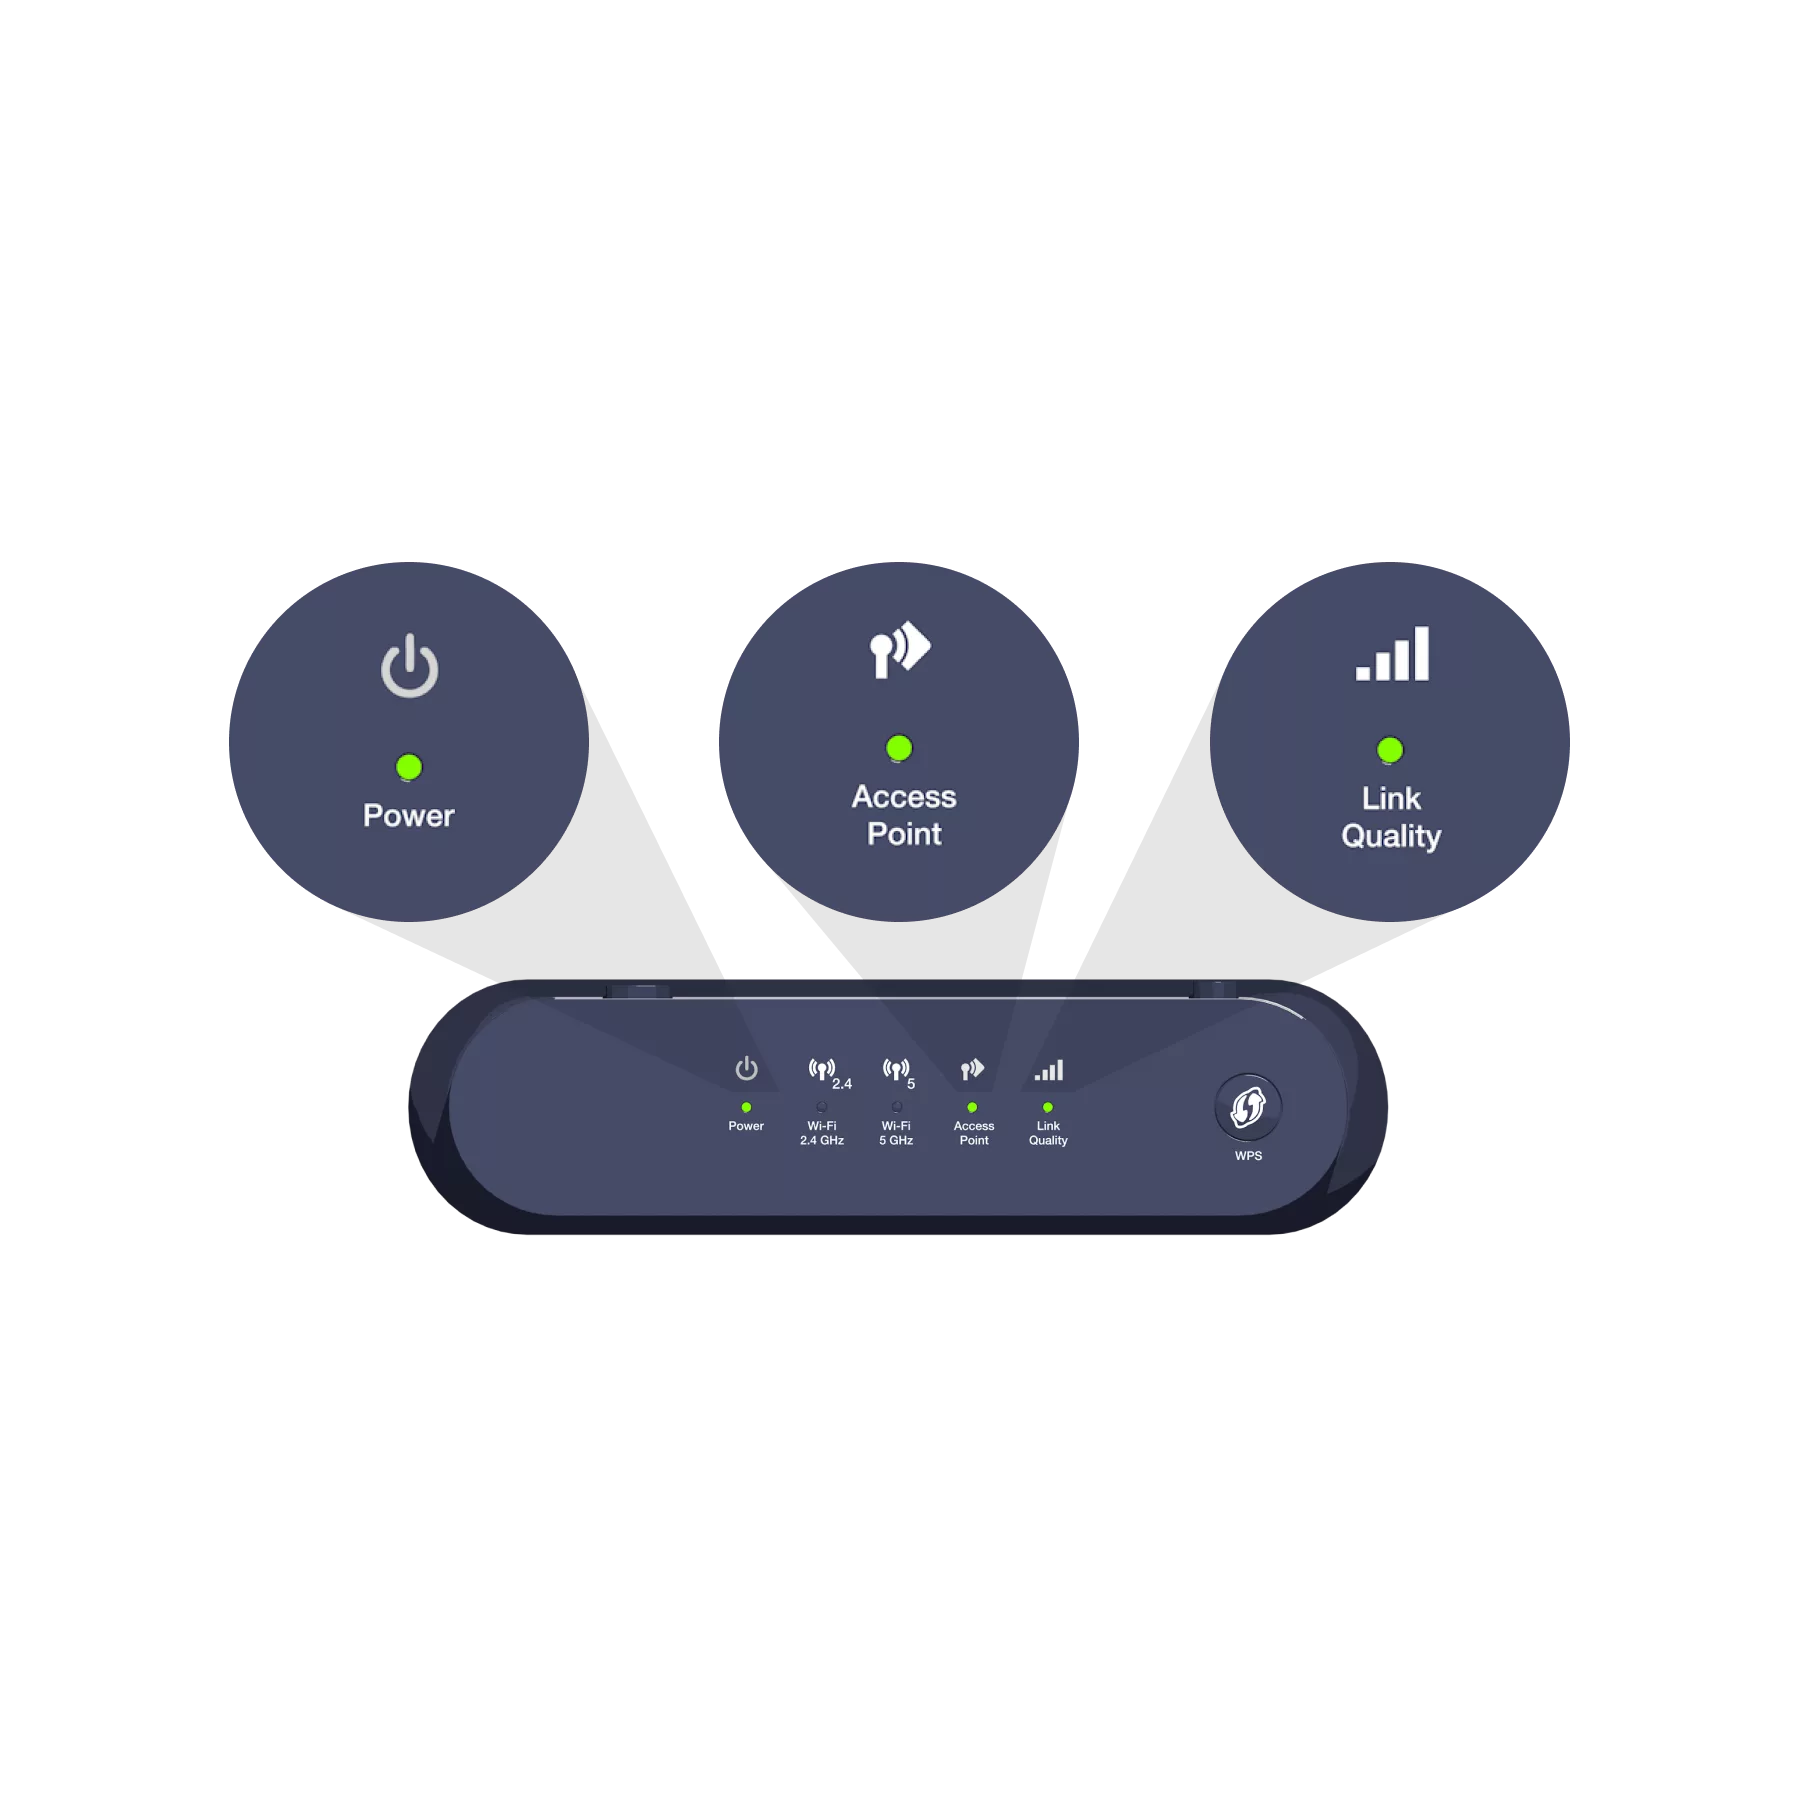
 The device is turned on.
 A Wi-Fi-enabled device logs in to the Wi-Fi Booster’s Wi-Fi network.
 The device is configured to extend the Wi-Fi network at home.
 Indicates the quality of the received signal.
- Green: optimal signal.
- Orange: acceptable signal.
- Red: poor signal. You will need to move the device or use a second one to boost the signal.
 Indicates the synchronisation status between the transmitter and the receiver.
- Steady green: the installation was successful.
- Flashing orange: an operation is in progress.
- Steady orange: the device is starting up.
- Red: synchronization has failed.
There you go – you can now enjoy the Wi-Fi!
Would you now like to: