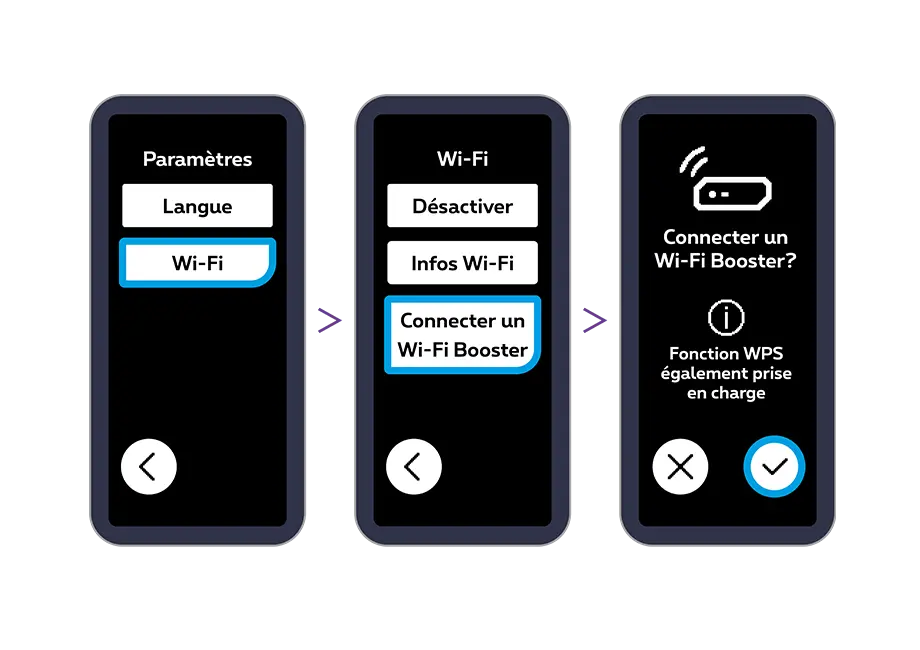
You can also synchronize the Internet Box+’s Wi-Fi with the Wi-Fi Booster+ using the Ethernet cable. When the Internet Box+ screen prompts you to connect a Wi-Fi Booster+, press the right-hand arrow.
Connect the Wi-Fi Booster+ using the supplied Ethernet cable (the black cable with yellow connectors). Plug one end of the cable into the yellow 2.5 G port on the Wi-Fi Booster+ and the other end into one of the three yellow LAN ports on the Internet Box+.
Connect the Wi-Fi Booster+ power cable and turn it on.
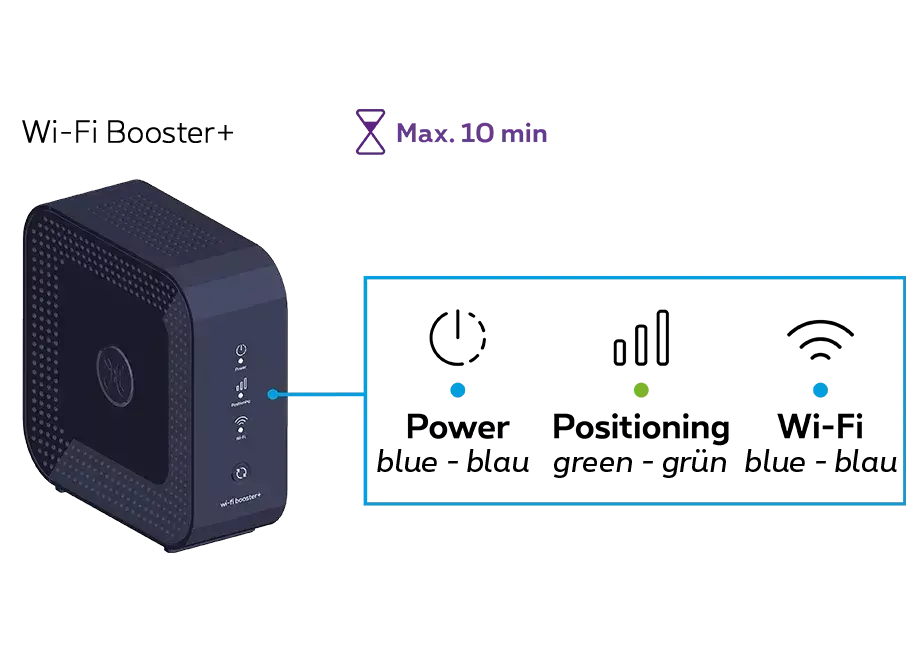
Leave the cable connected whilst the update is taking place. This may take around 10 minutes. Wait until all three indicator lights on the Wi-Fi Booster+ turn solid blue (ignore any intermediate states of the lights).
You can then unplug the Wi-Fi Booster+ and place it in your chosen location. Continue with this installation guide from Step 4.
If you have several Wi-Fi Booster+ units to install, follow the same procedure for each device.
A. On the Internet Box+ screen, press
Then press “Wi-Fi”, “Connecter un Wi-Fi Booster”, then confirm with
B. On the Wi-Fi Booster+, press and hold
(which may take up to 10 seconds) until the Indicator light starts to flash white.
C. Once synchronisation is complete, the Indicator light
turns green and the Indicator light
Solid blue and steady.
This may take a few minutes. Both indicator lights then stop flashing.
A confirmation message appears on the Internet Box+ screen to show that synchronisation is complete.
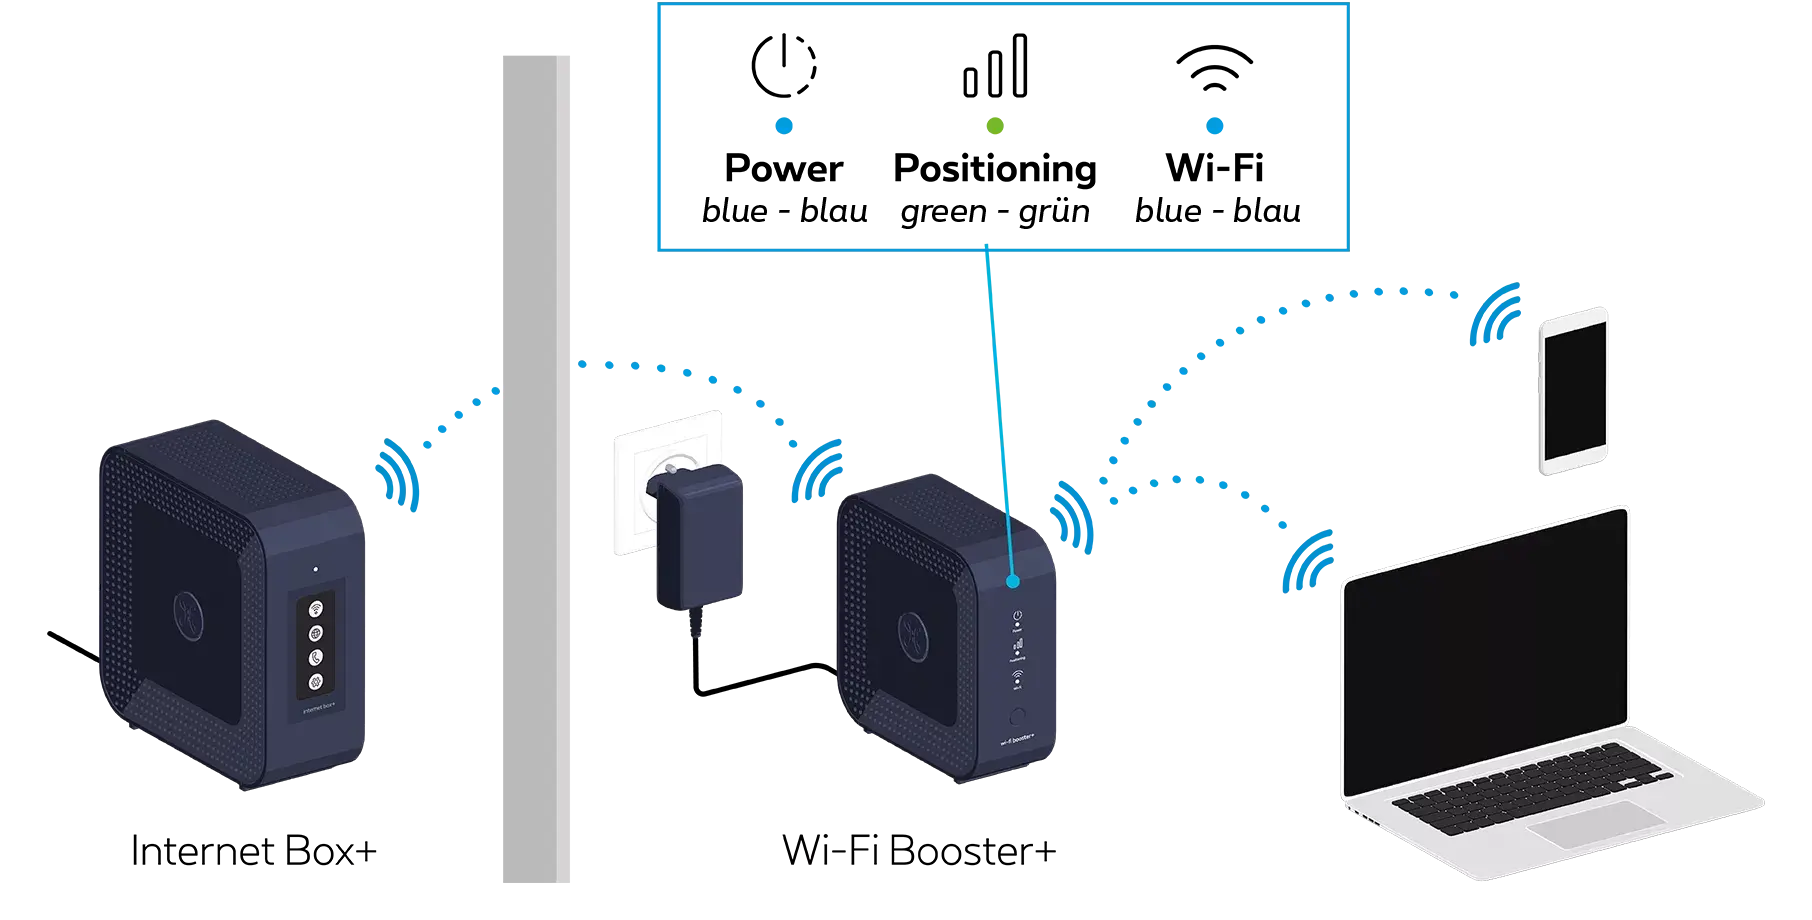
You can unplug your Wi-Fi Booster+ and position it centrally between the Internet Box+ and the device that needs to receive the Wi-Fi signal.
Step 4
Switch the Wi-Fi Booster+ back on
Connect the Wi-Fi Booster+ power cable to the power socket.
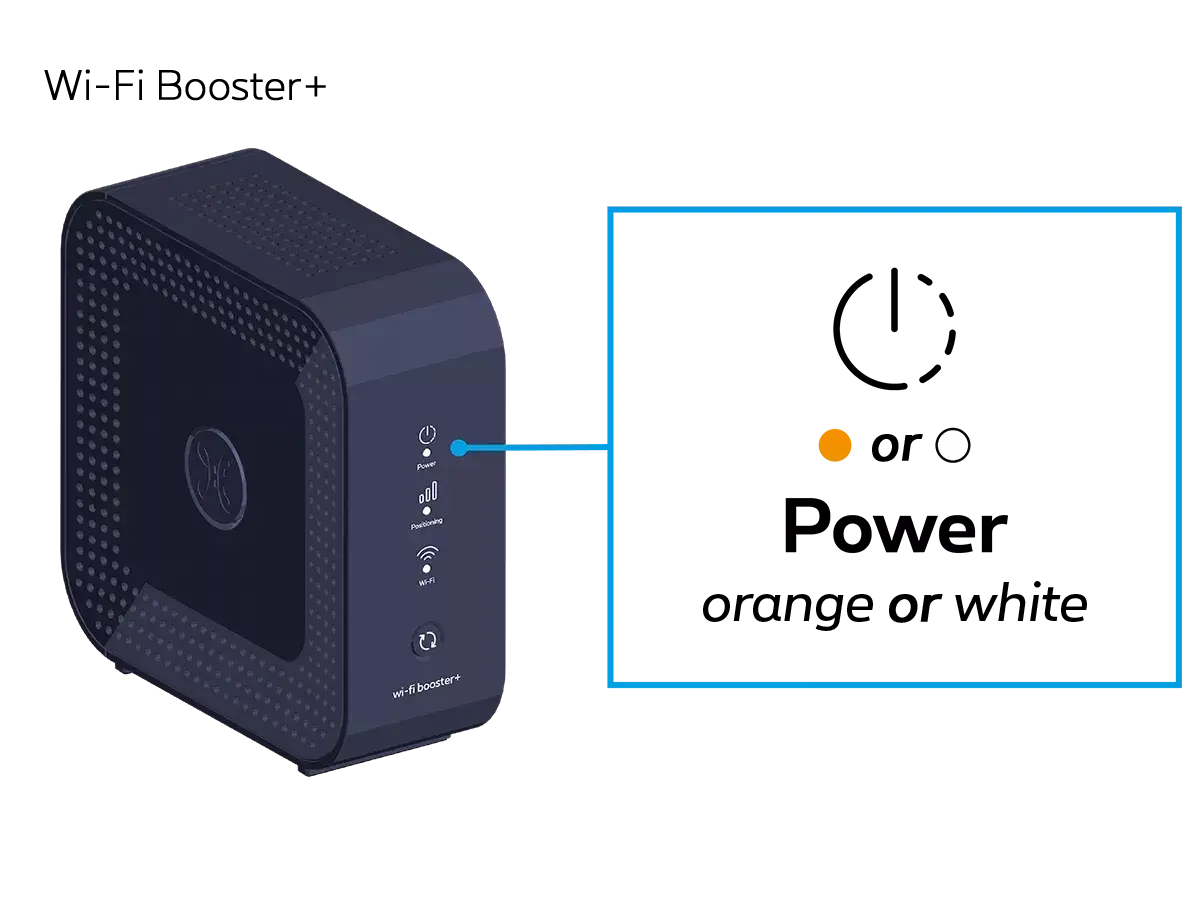
Check that the POWER button is pressed down. The connection is established automatically.
If the indicator light is not green, move the Wi-Fi Booster+ closer to the Internet Box+ to ensure an optimal signal.
You are free to connect other devices to the other free yellow Ethernet port on the Wi-Fi Booster+: a games console, Blu-ray player, computer or a TV Box.
 From bottom to top
 The first port is for connecting the power supply cable.
 The second yellow 10G LAN port is used to connect an Ethernet cable.
 The third 1 2.5G yellow LAN port is for connecting an Ethernet cable.
 The hole in the fourth position is used to reset the device.
 The button in the fifth position is used to turn on and off the device.


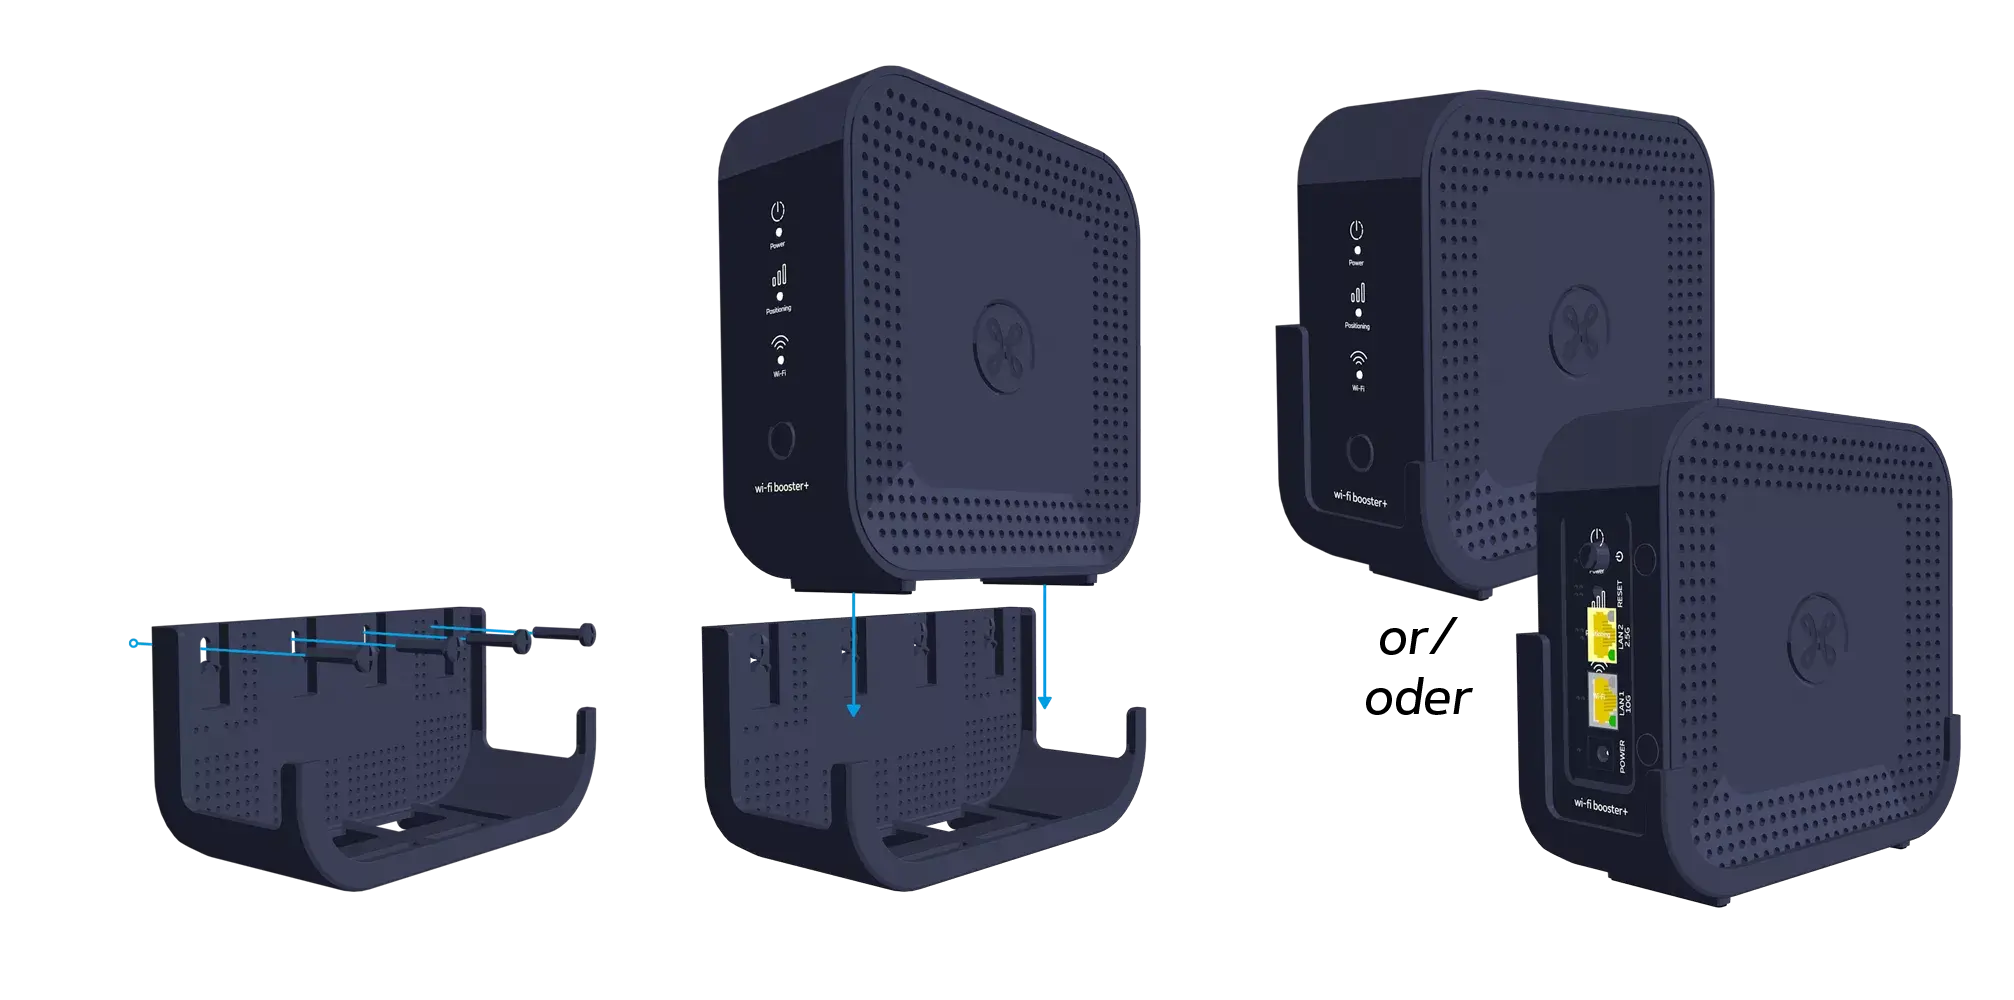 This wall mount is available free of charge via our customer service team on 0800 55 800.