View all guides
Logging in to the internet via the Internet Box+
Installation GuideBefore you begin
Select the type of connection you require.
Check the connection
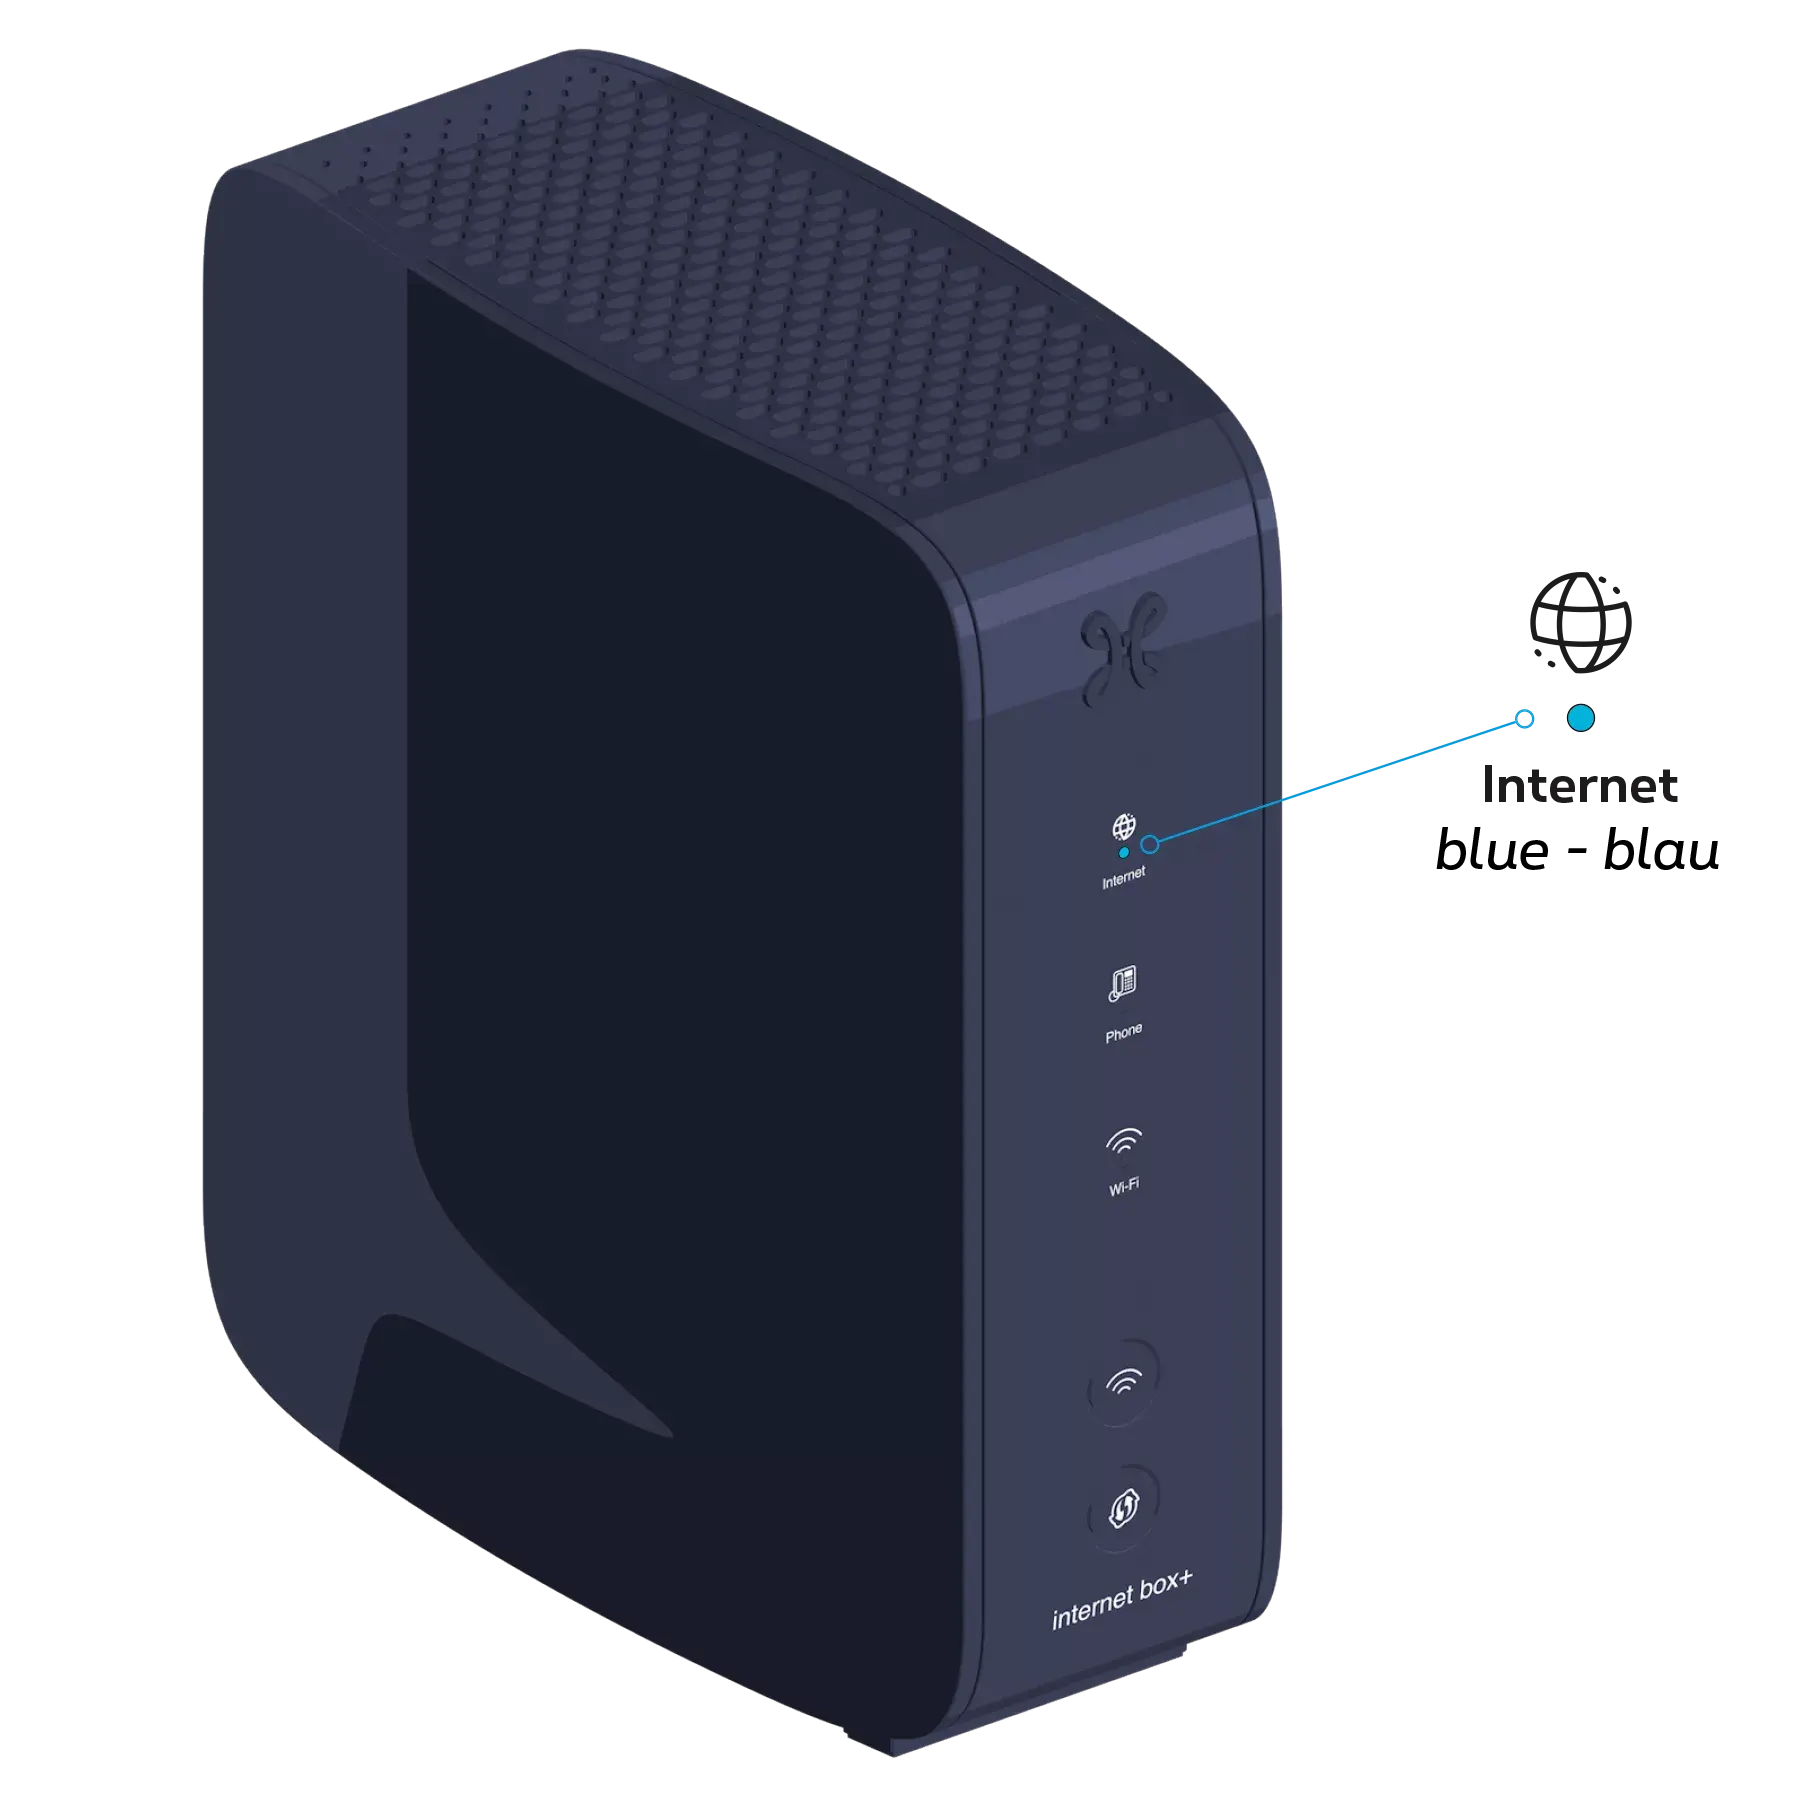
Check that the Internet indicator light is turned on on your Internet Box+. This means that your connection details (username and Password) have been automatically configured in your Internet Box. You will therefore no longer need to enter them later to access the internet.
-
Unplug and then plug the Internet Box+ power cable back in. Wait a few minutes.
Connect the computer to the Internet Box+
Use the Ethernet cable supplied and connect it to one of the yellow LAN 1, 2 or 3 ports on the back of the Internet Box+ and start up your computer. You are free to use the 10G LAN port to connect devices that support speeds higher than 1 Giga.


Test the Internet connection
Open your Internet browser and enter a web address. If the web page appears, the connection is activated.

There you go – you can now enjoy the Internet!